
How to Disassembly Masito C8 Corvette Miniature Model
These are the steps I followed to disassemble the model.
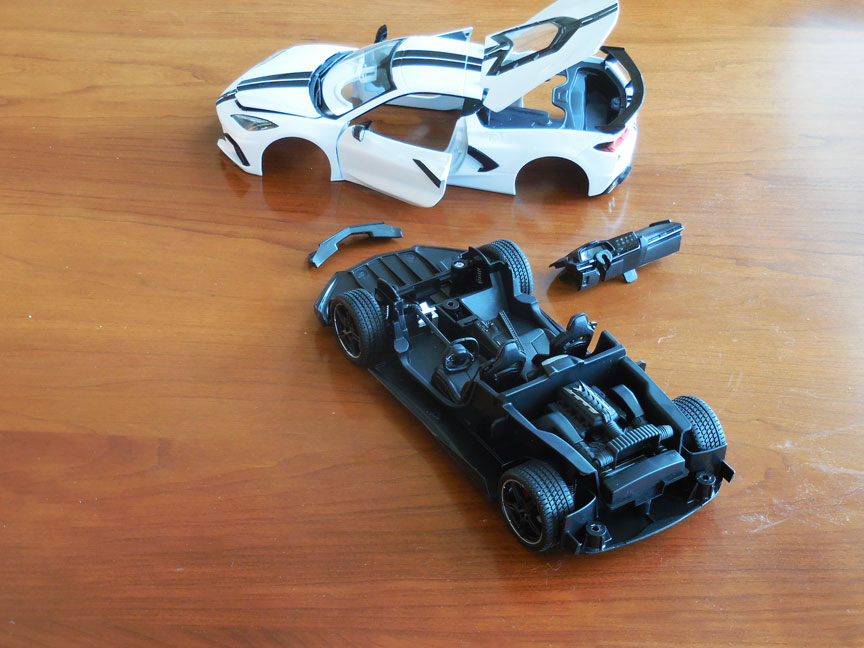
The body comes off the chassis with three Phillips head screws. The dash and front intake are held in place by the joining of the chassis and body and will fall out when the body is removed.
This picture shows the hinges for both the frunk and the back engine cover. The hinges consist of cast pins inserted into U shaped channels in the bod and then crimped. I could not find a way to pry the U channel open so I carefully cut some of the hinge material with a rotary tool.
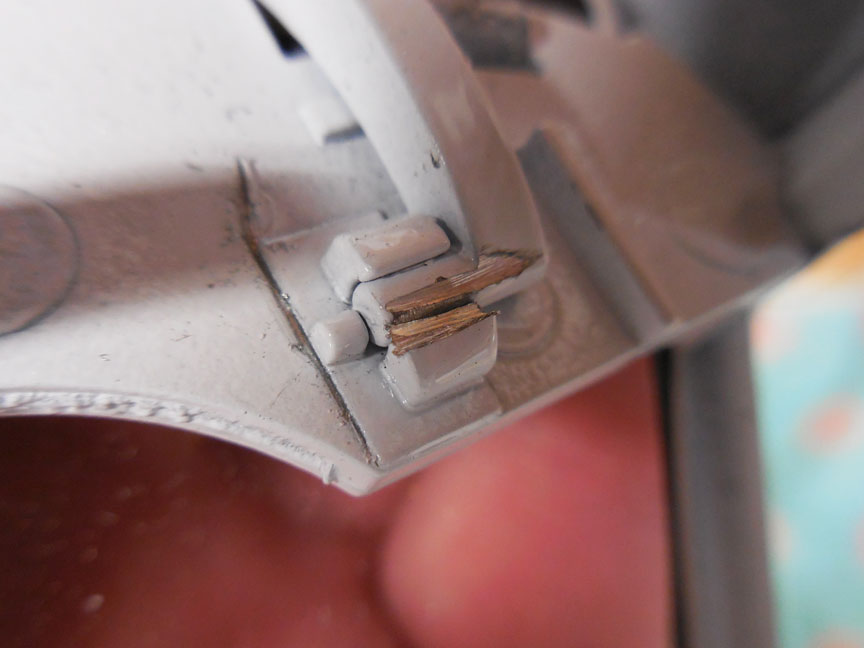
I was not too worried about how to correct this when reassembling the model. I do not apply much pressure when opening and closing the models. One side of the hinge can be left while while the opposite side is relieved. Then the hinge can slide out sideways.
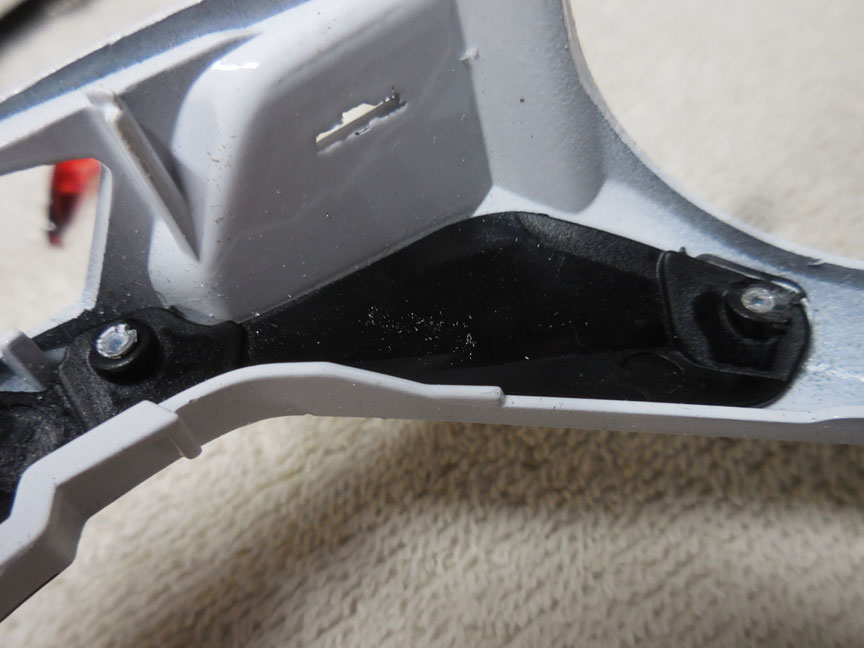
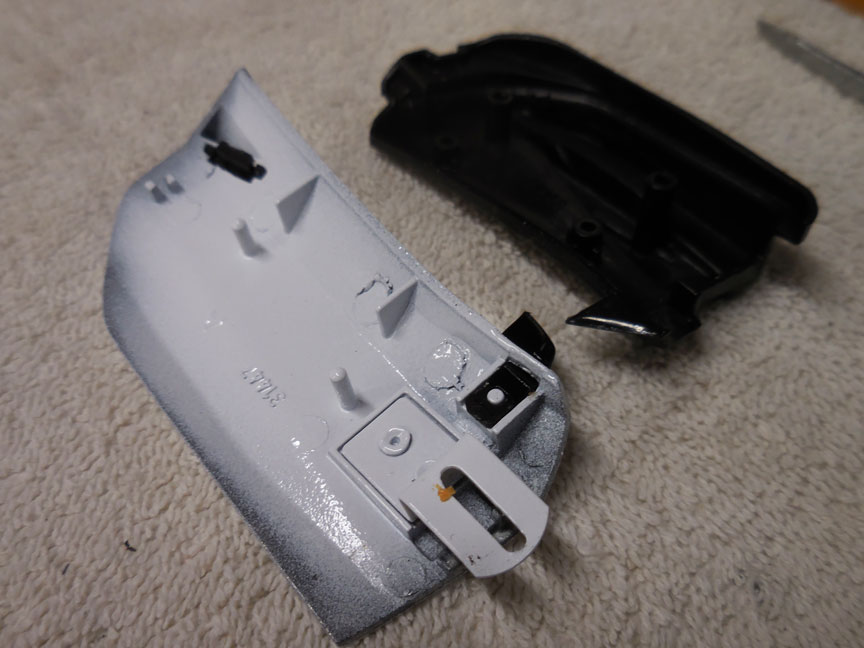
The plastic trim and windows are mounted by crimping posts in the body as if it were being riveted. The left post is mushroomed as original and the right post has been ground down so the plastic can be removed.
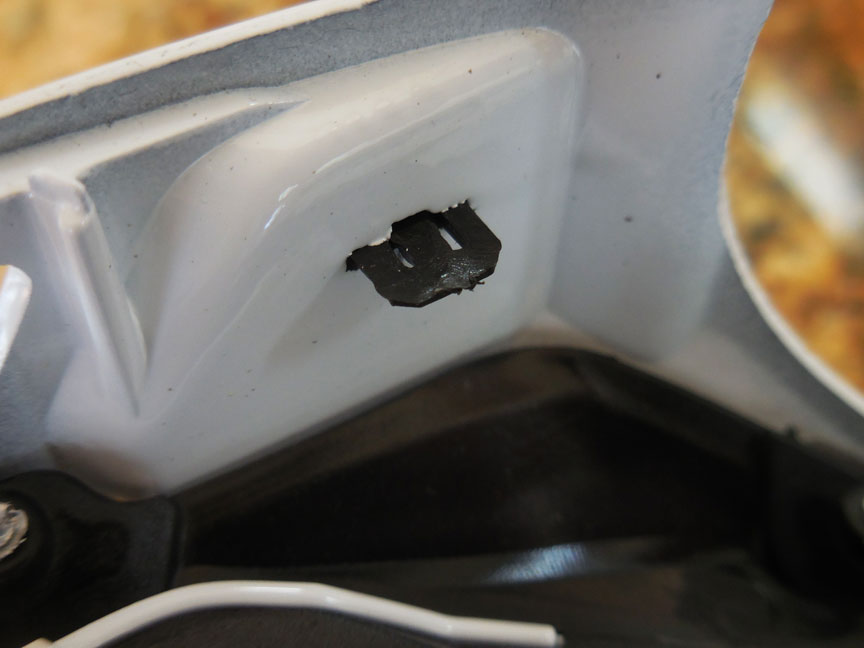
Some of the trim pieces have tabs with are placed through holes in the die cast body. They expand slightly, hold the piece in place. The tabs can be compressed and the part removed. This is not easy and sometimes the tab gets mangled. The pieces can be glued back when reassembling the model so damage is not critical.
The door trim is compression fit on two pins in the die cast door. Careful back and forth prying will cause the plastic to slip off. Notice how the mirror can now be removed as it was previously held in place by the door trim. The scoop trim is also held in place by the door trim.
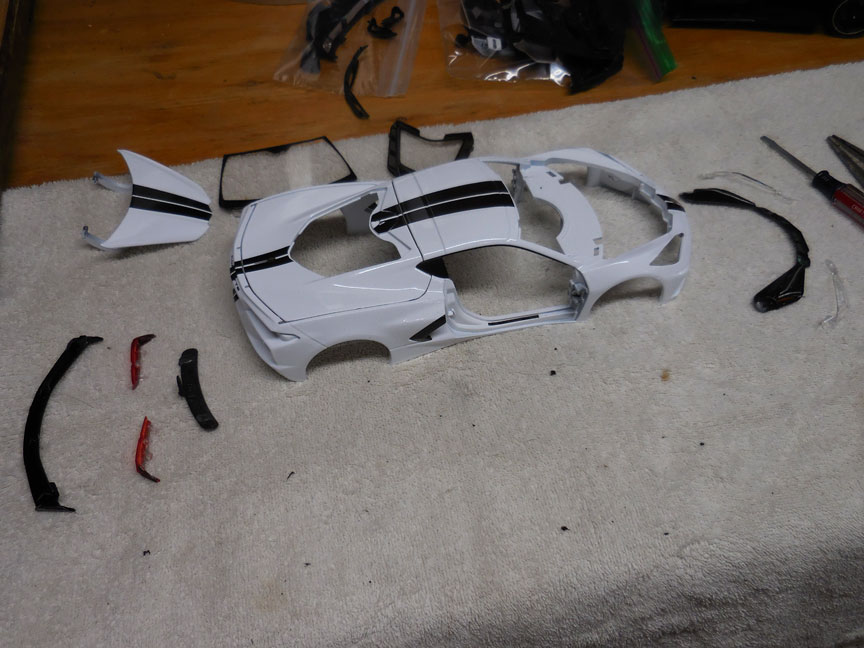
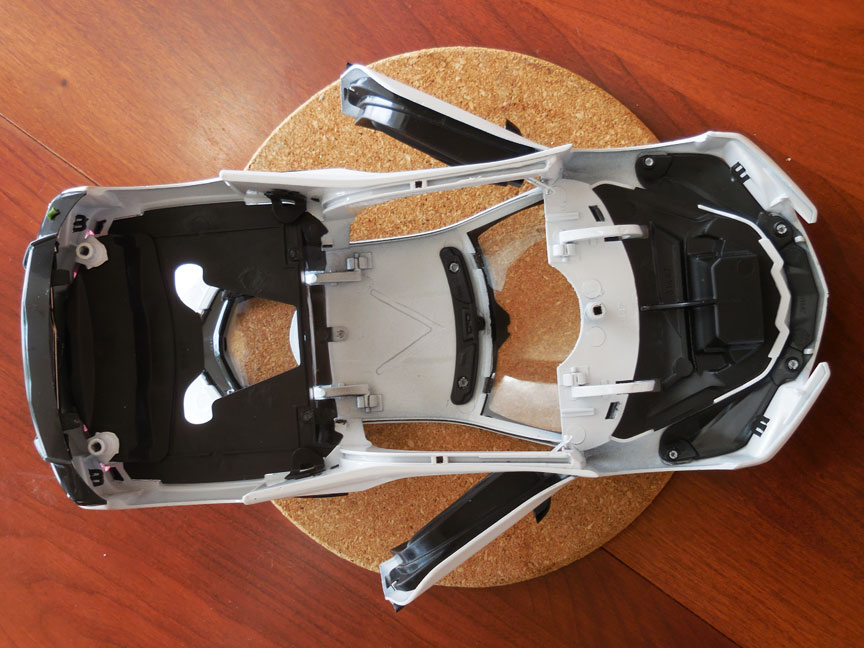
Here all the parts have been removed from the body. The stripes are painted on but the black trim on the rocker panel is tape and can be peeled off. Many of the parts will not be used for final assembly because my car does not have them. The rear spoiler will not be replaced and the holes in the back deck of the die cast body will need to be filled.
Later I decided to remove the trim pieces that surround the intake. These are plastic and have pins that go through holes in the metal. The end are melted in order to hold them in place. The melted plastic is ground down until it no longer is held in place and the trim is removed.
This model had a ground effects side panel and front splitter and these will have to be removed. (Later I bought a second parts car and it did not have the ground effects so I will use it for the final model.