
Final Assembly
Installing the Chassis in the Cabinet
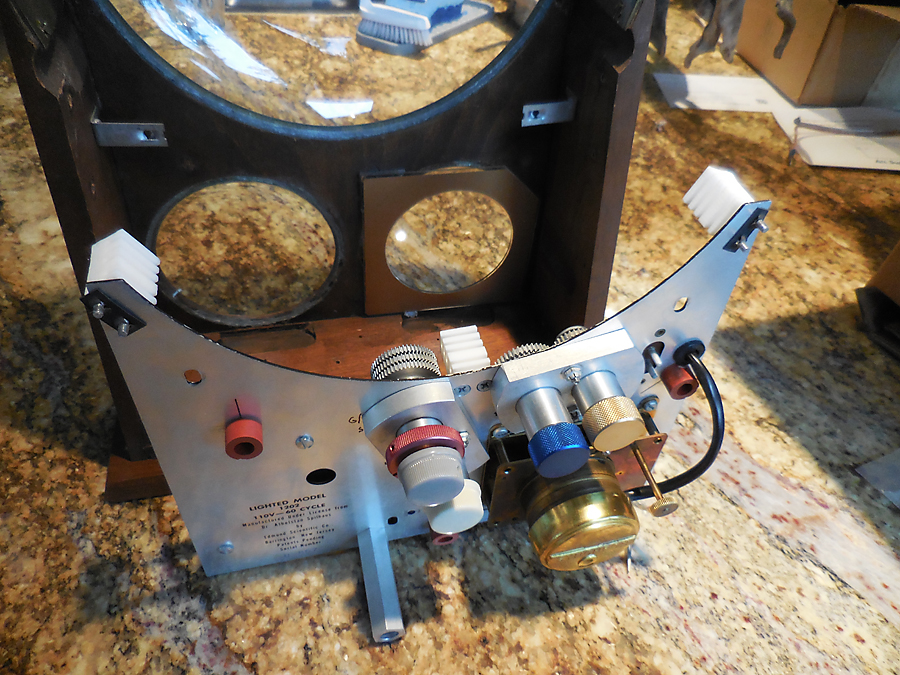
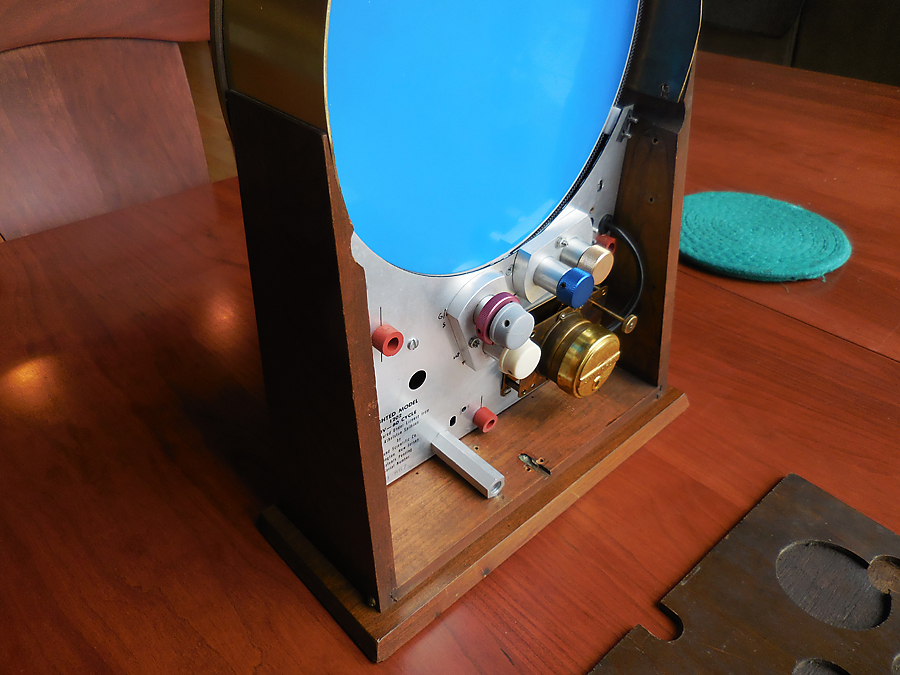
The works before the clear discs are installed. The upper guides are installed. Note the black spring clips have been ground smaller so as to clear the sides of the cabinet.
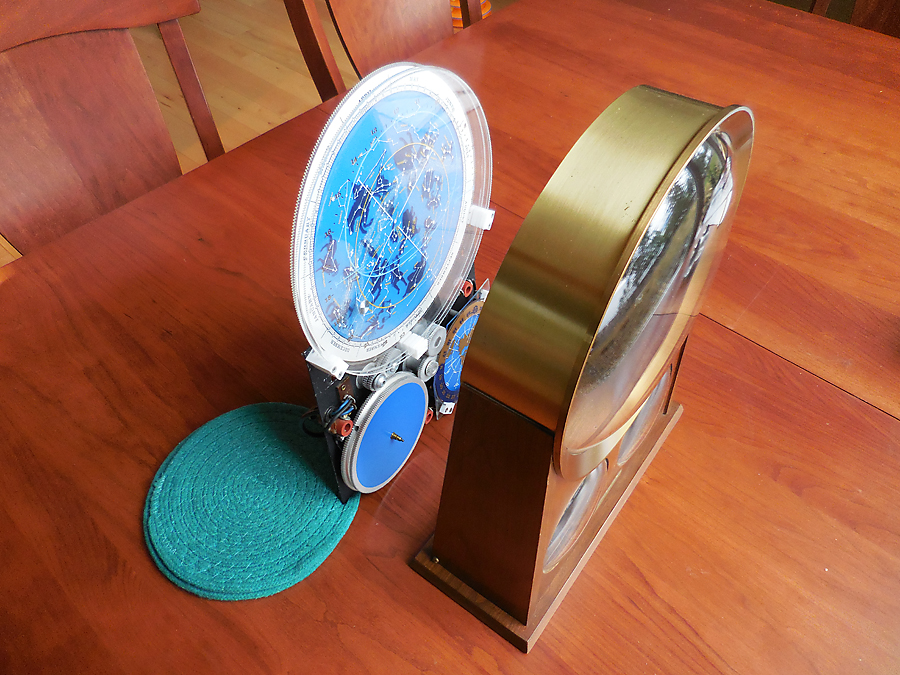
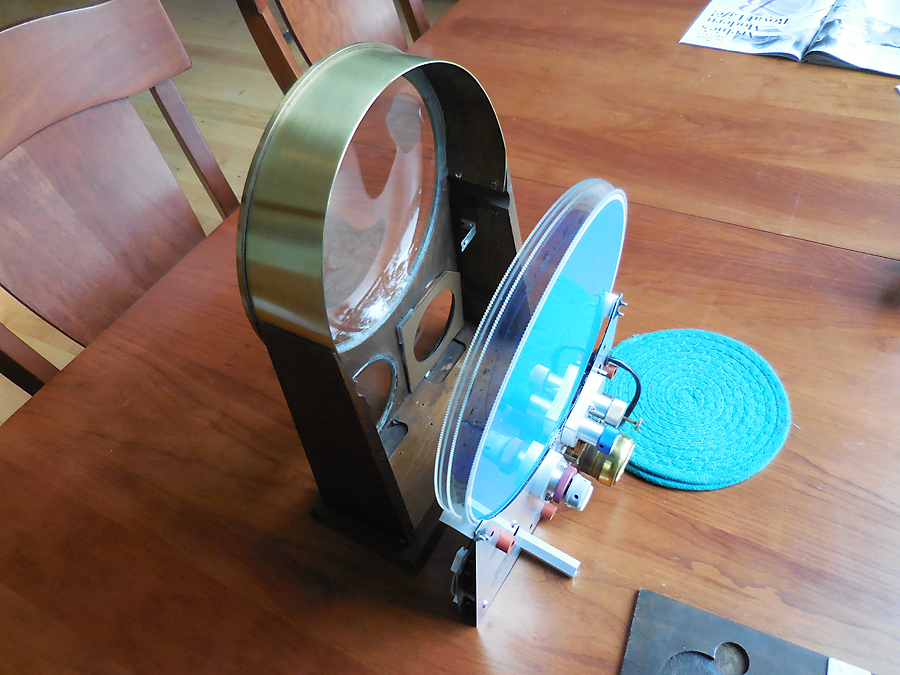
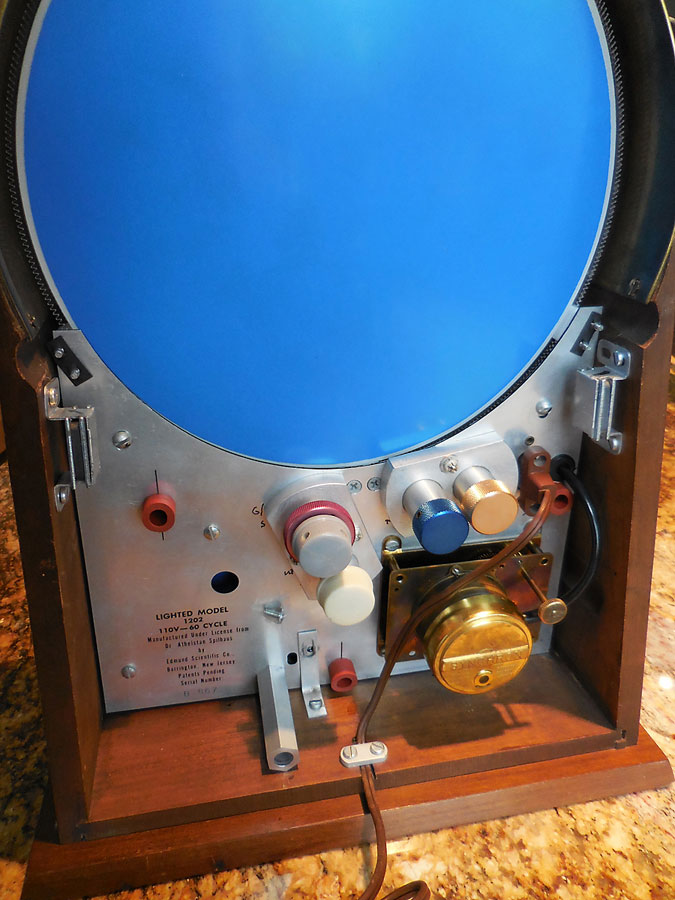
The two pictures show the works ready to be installed into the cabinet. (The Sun Disc is missing and needs to be replaced.)
Note the depression in the base of the cabinet, just in front of the two lower dial openings. These depressions provide clearance for the big blue hour gear on the one side and the 24 hour ring on the other side. The works need to be tilted with the bottom of the works going into the cabinet first and then the top of the clear discs enter last. The works cannot be pushed straight into the cabinet.
The upper guide for the clear discs should be attached just before inserting the works into the cabinet. It is not shown here and is generally not needed unless the clock is moved around or shaken. Often the guide is mistakenly installed in the top of the arch and is glued in place. The guide should be attached to the top of the stationary, horizon disc. This disk does not rotate and will hold the guide in place. I attach the guide to the disc by shimming the disc in its smaller slot with paper plate stock.
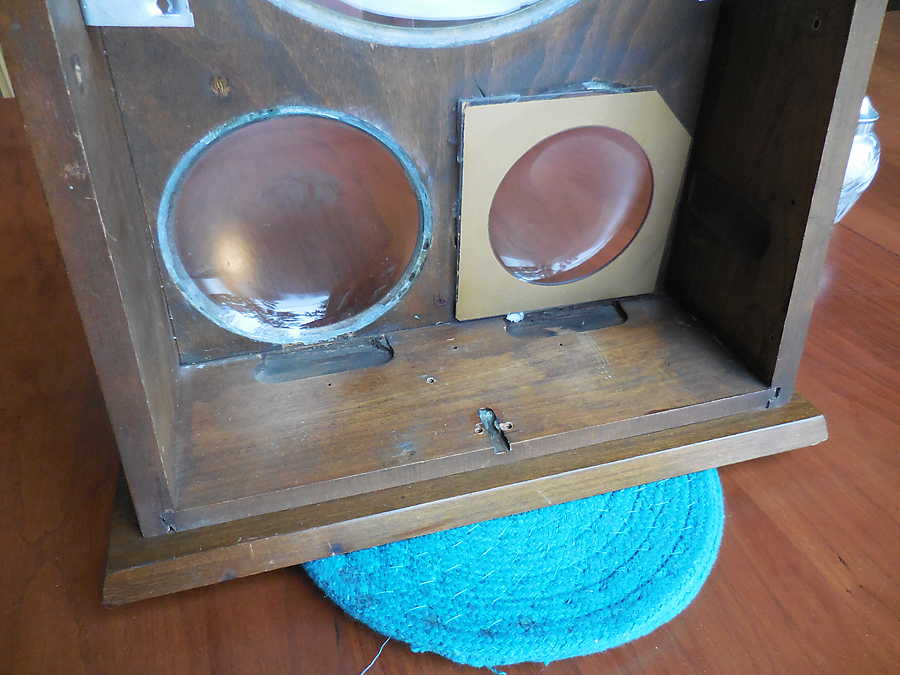
Note the depressions to clear the bottom of the gears for the 12 and 24 hour dials. Installation is the opposite of removal, with the works first tilted bottom in and then the top follows with the disc spacer attached to the horizon disc.
Installed Works
The works are installed and now ready for the power cord, lamps, magnets to hold the back, and brackets.
There are two screws that hold the works in the cabinet, just next to the magnetic brackets. These are round head machine screws.
Plug in the power cord and place it in the depression in the base. Add the strap across the cord. A knot can be placed in the cord to prevent the cord from pulling out.
Magnetic brackets are screwed into the sides of the cabinet to hold the back in place. These can be adjusted so that the back sits flush with the cabinet.
An L bracket is placed to reinforce the bottom. The screw through the back of the works shares the standoff with the map and should be installed before the works are inserted in the cabinet.
The lamps can be installed. Note the direction of the end of the lamp is pointing the same direction as the black line on the chassis. This insures the electrical contacts are in the correct position. Remember the lamps are wired in series so when one burns out they all stop working.