Assemble the Chassis Continued
Install the Ivory Knob
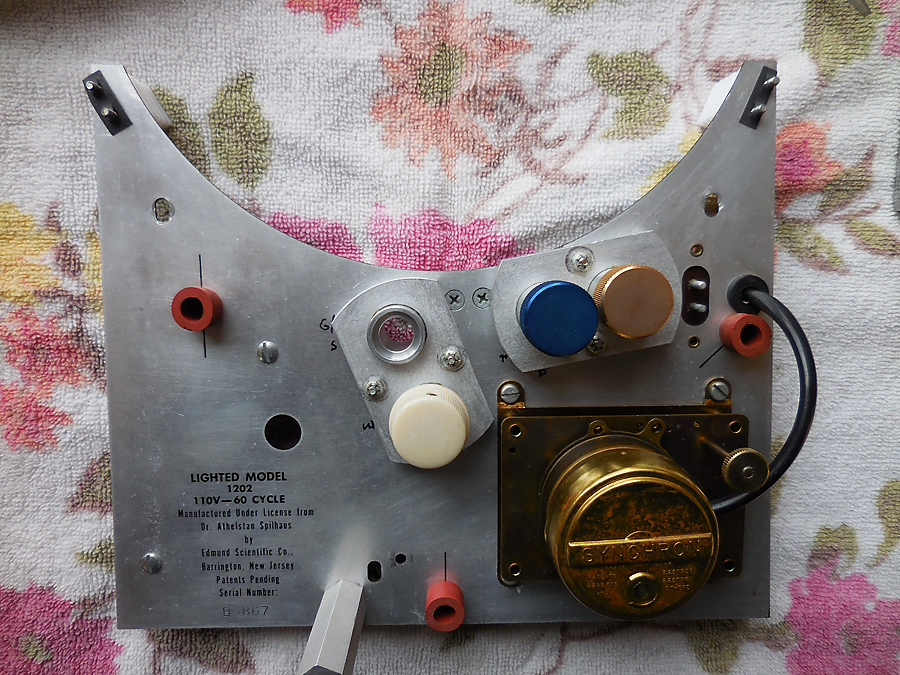
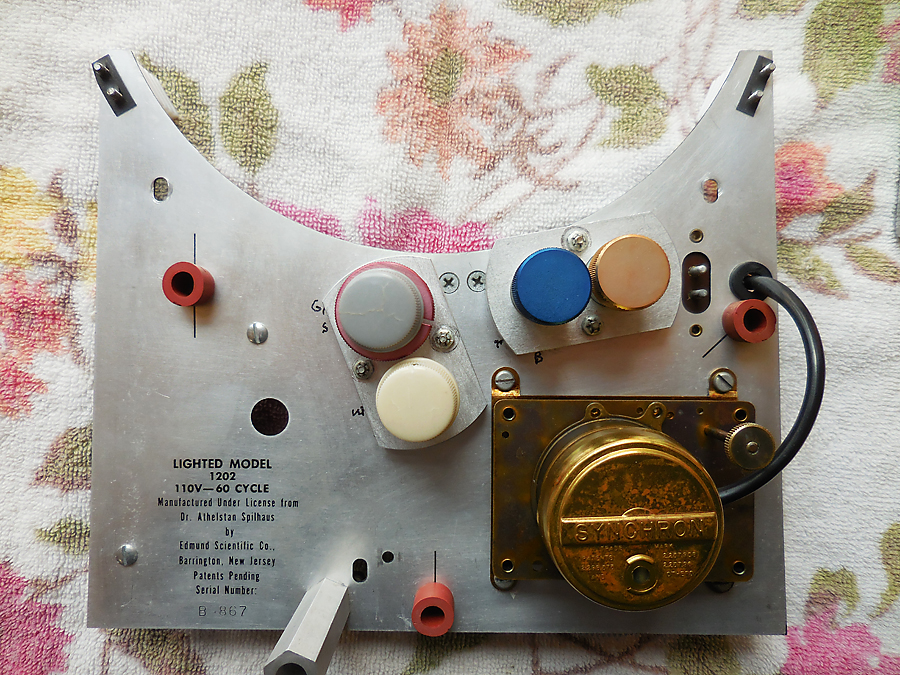
Install the Grey and Red Knobs
Adjust the Gear Engagement
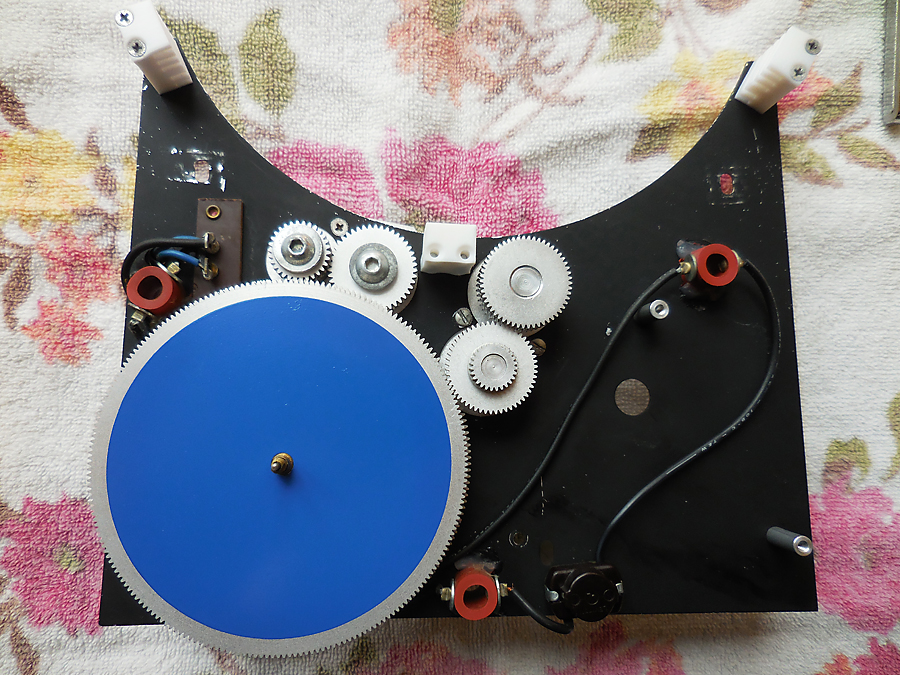
The tooth engagement of the gears needs to be adjusted. Just like when the bushing support bracket for the gold and blue knobs has enough play to move the gears closer and farther from the big blue hour gear, the bracket for the ivory, grey, and red knobs can be moved closer and farther from the 12 hour blue gear. All gears should now rotate freely, with little friction but full engagement. The gear lash, the play between gears, should be felt but there should not be a lot of play.
Map Install

The map remains stationary while the ring of hours around the outside rotates every 24 hours. The outside ring has teeth and is driven by the ivory gear. It is located by the three white brackets that have slots to contain the ring. The three brackets and the gear contain the ring. The adjustment is by moving the three white brackets closer and father from the gear. The gear teeth should mesh but the brackets should not squeeze the ring tightly and should not prevent the smooth rotation of the ring.
Install Hands
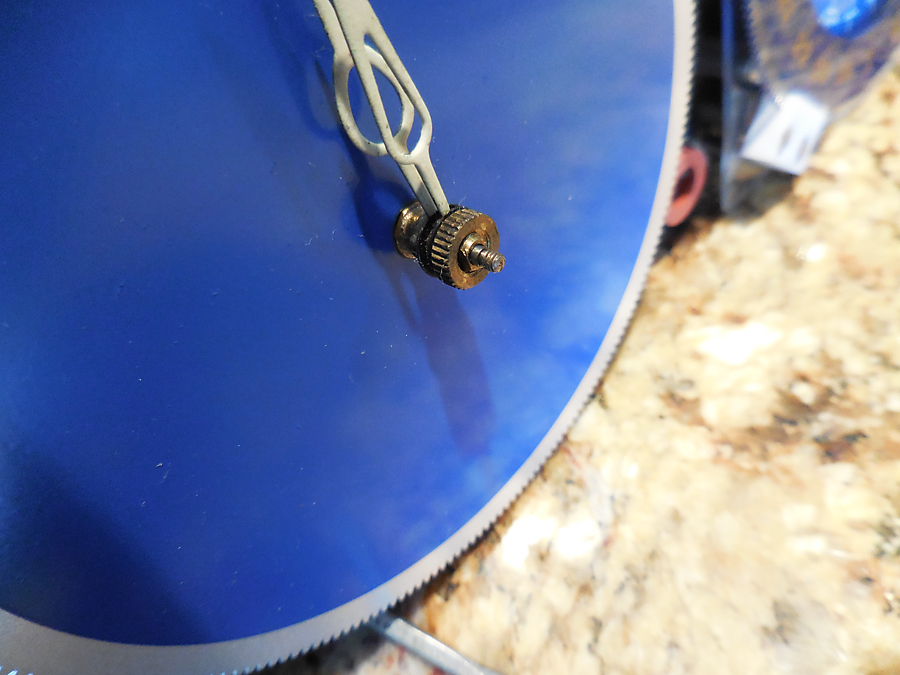
The hour hand is a press fit on the nose of the gear train. It helps to have set the time by turning the brass adjustment knob on the back of the gear train so that the slot for the minute hand is pointed towards the 12 noon position. Then the hour hand can be press onto the nose of the train pointing at noon also.
The minute hand has a slot and can be placed on the minute nose and held in position by the thumb bolt.
Finally the second hand has a threaded nut included in the hand and can be twisted onto the threaded portion of the nose.
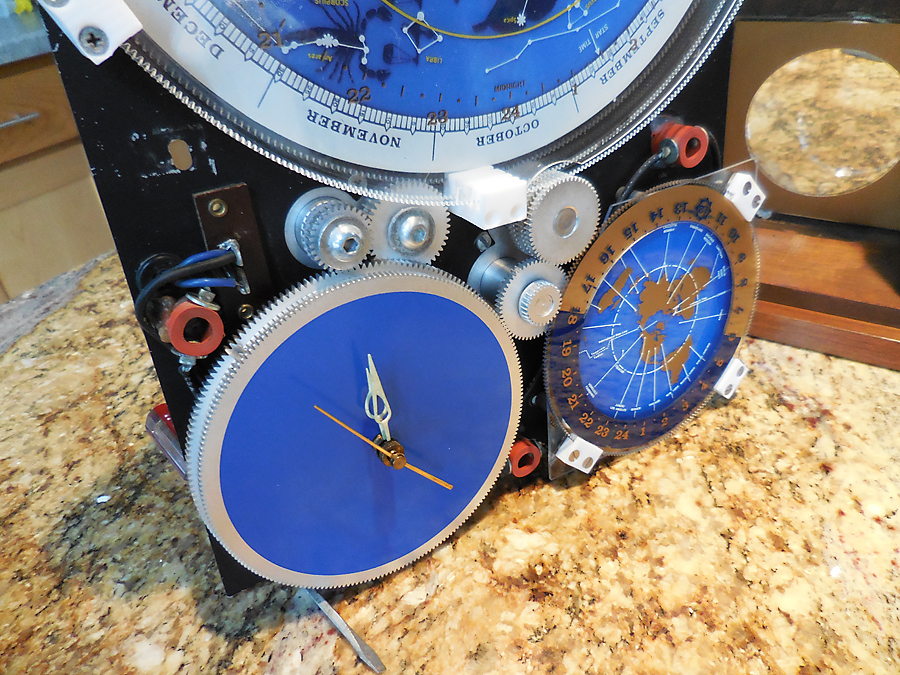
The chassis is almost complete. The gears are installed. The 24 hour dial has the map and 24 hour ring installed. The hands are installed on the 12 hour clock. The clear discs for the main display are also installed. The lamps have not been installed but could be at this time.
