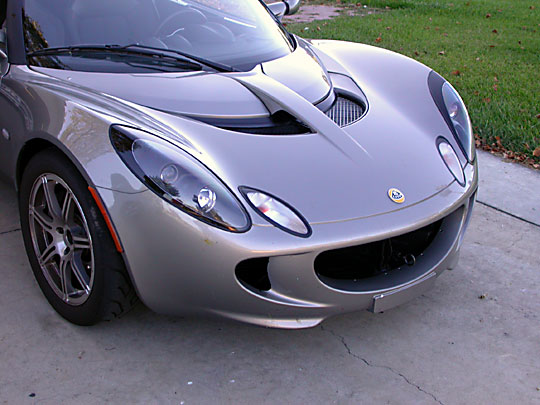
Replacing the Plastic Grills with Metal Mesh
How I removed the radiator grilles, both entrance and exit:
I do not like the slats, both in the front of the radiator entrance nor in the radiator exit. Removing the side grilles, the two in front of the oil coolers and on either side of the main front grille, was difficult. I decided to remove them when I had the front clam off.
Front Grille:
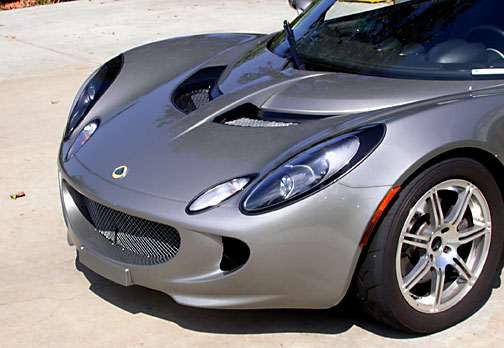
Removing the front grille was easy. The clips at the top allow the top to pivot forward. The grille can be pulled up, thus removing the pins from the bottom edge of the opening.
I fabricated a temporary welded wire mesh front grille and drove around with it. I examined the opening with no wire mesh. I preferred nothing in the opening.
Small Side Grilles:
The two small side grilles are held in place by a Torx screw from the top. This is accessible from the top if you drill a hole inside the turn indicator opening. I chose to remove the front clam for other reasons and was able to get to the screw when the clam was off.
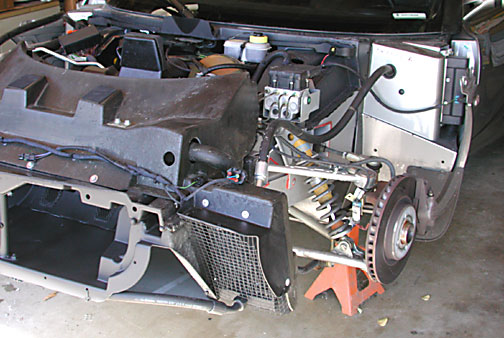
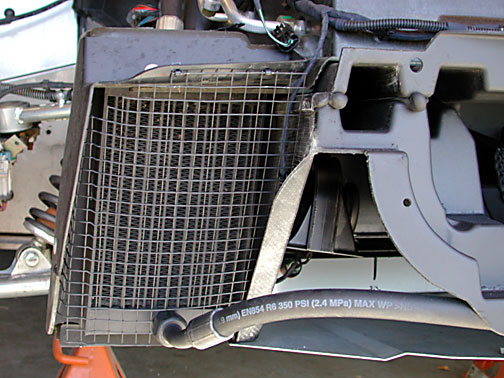
My car has the LSS option and therefore has the two oil coolers behind the two small side grilles. I put some black welded wire mesh in front of the coolers for protection against rocks. The mesh is held in place by tie wraps at the stop and sides. Care must be taken to keep the mesh close to the oil cooler as the clam is shaped to intrude in that area.
Note the original horn just to the right of the wire mesh. This was replaced at the same time with a louder horn.
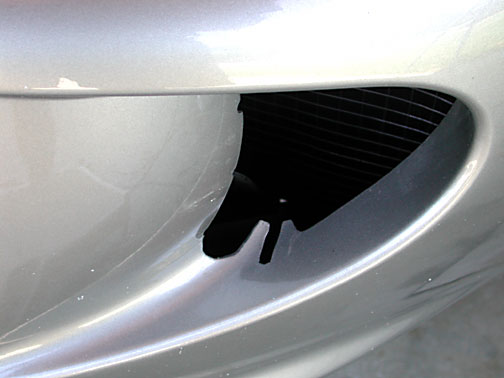
The clam opening has an unusual shape, as shown above, as it helps to hold the side grille in position. I trimmed this so it had a smoother contour. There are also dimples on the side. These were small and were left alone.
Remove the Radiator Exit Slats:
Removing the slats from the radiator exit was the most difficult project. Unfortunately the radiator is under the slats and is exposed without the slats protecting it. I decided to remove the slats and used the remainder as a frame to support some welded wire mesh. the mesh will serve to protect the radiator.
(picture of grill with slats)
I cut the slats out of the frame. This left some voids in the plastic casting which were filled with fiber reinforced epoxy resin. The frames were sanded, sprayed with plastic primer, sanded again, and finally painted a satin black. The original texture is gone and so any flaws in the filling of the gaps become more apparent. It was difficult to get all the imperfections smoothed over.
(picture of tie wraps)
Tie wrap loops were epoxied to the perimeter of the opening in the frame. Wire mesh was cut to shape and tie wrapped to the frame. I painted one side black and left the other side bright metal because I could not decide which I liked better. The black follows the theme of the car. The bright metal provides a visual block to what is under the mesh and so details such as the radiator shroud is not as visible.
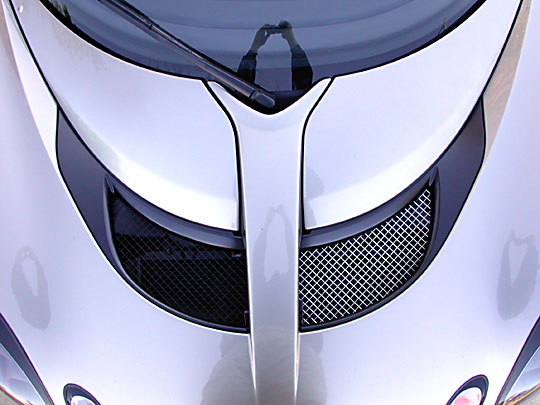
Which side do you prefer?
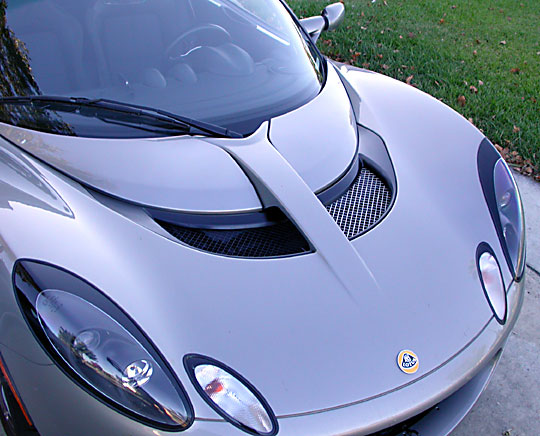
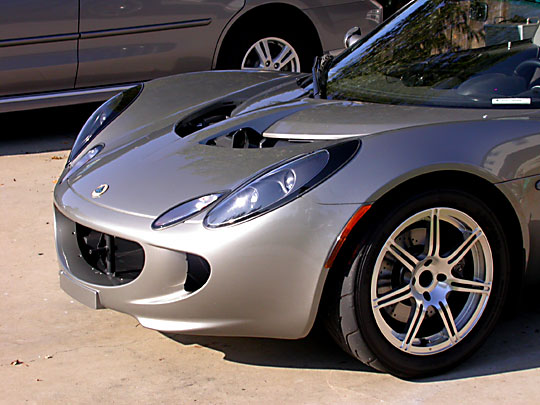
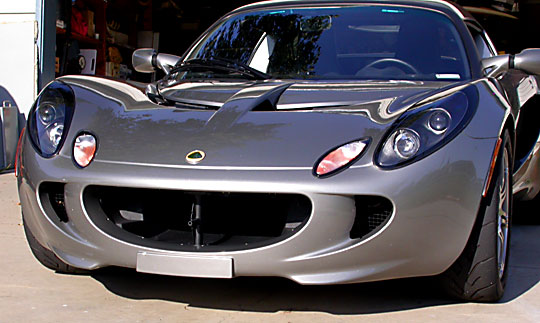
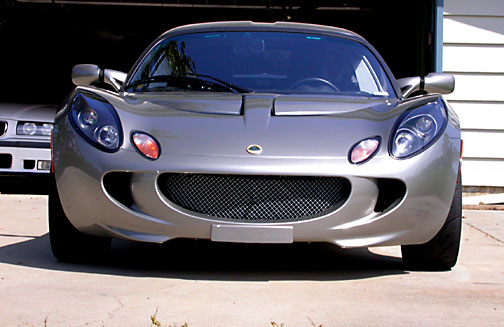
This is an experiment with the wire mesh in the front opening. I decided I prefer it without the mesh as the two pictures above this one show.
