
Playfield Bottom
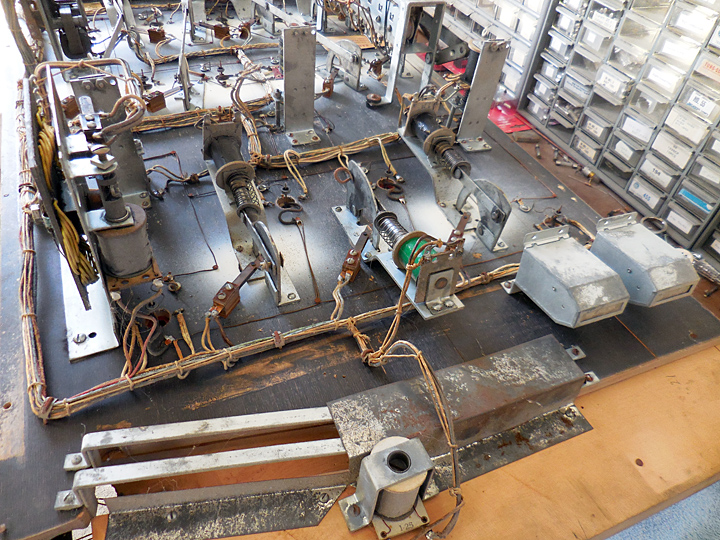
I finished the score board with the five step up units. Now I am starting on the underneath part of the playfield. Here is the bottom half, with game counters, gobble hole ejection units and three pop bumpers.
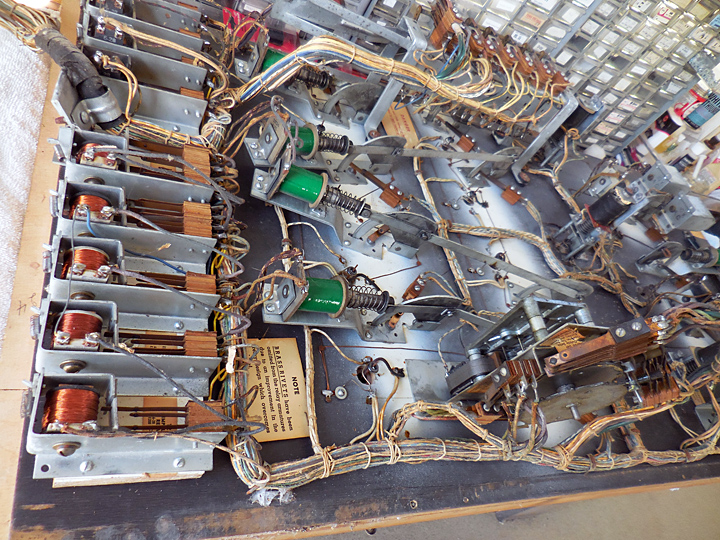
This is the top part of the underneath playfield. There are ten gobble hole ejection units, a score motor in the bottom right of the picture, a reset bank at the top and a series of relays along the left.
I wanted to thank Steve Young at Pinball Resource for advice and help with the solenoids and playfield parts. The coils used in this game have metal liners and since these are integral to the coil, they cannot be removed and replaced by the more desirable Nylon liners. The solenoids were all corroded and stuck inside the coils. I planned on replacing them all until I talked with Steve. Since none of the coils are available and we did not have a good method of substituting them, Steve suggested I just clean the coils that were still good and he would try and find equivalent replacements for the couple that were bad. I also am replacing all the advance bumper bodies, springs, and bases.
Steve is amazing. I have no idea where the hobby would be without him.
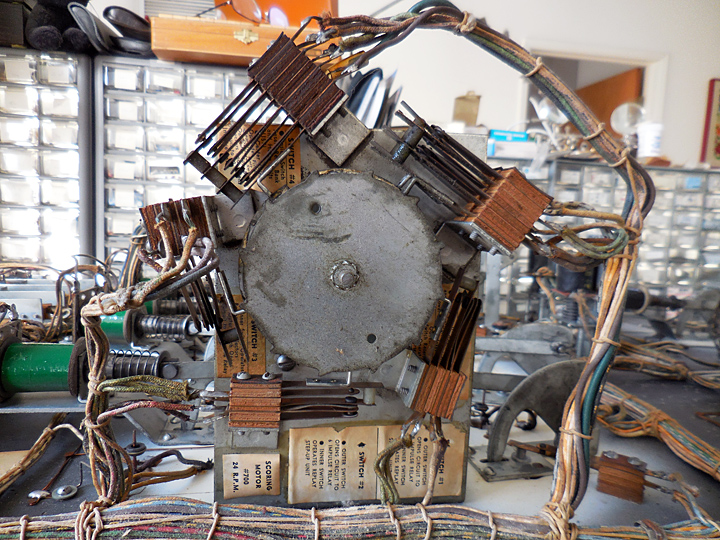
This is the motor with all the switches. It allows the game designer to count multiple rewards when the ball lands in a hole. There is a geared down electric motor on the other side of the unit.
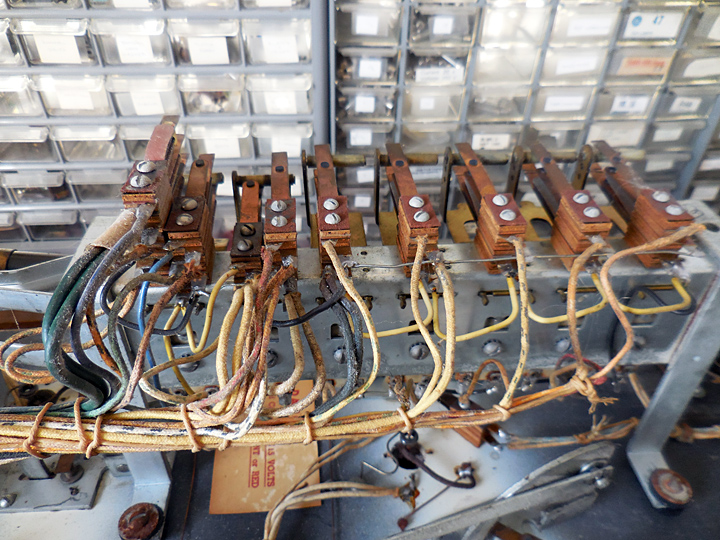
This is the reset bank. There is a huge solenoid on the other side, run by 110 voltage, and causes all the switches to reset.
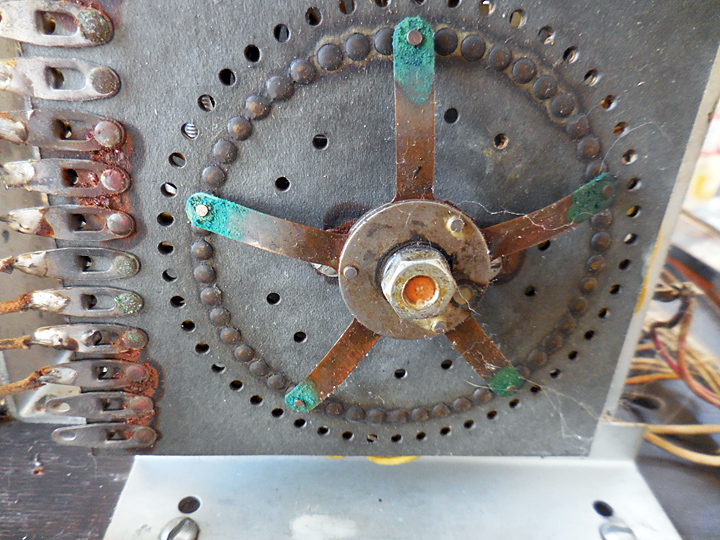
Here is the step up unit. Looks like a lot of rust.
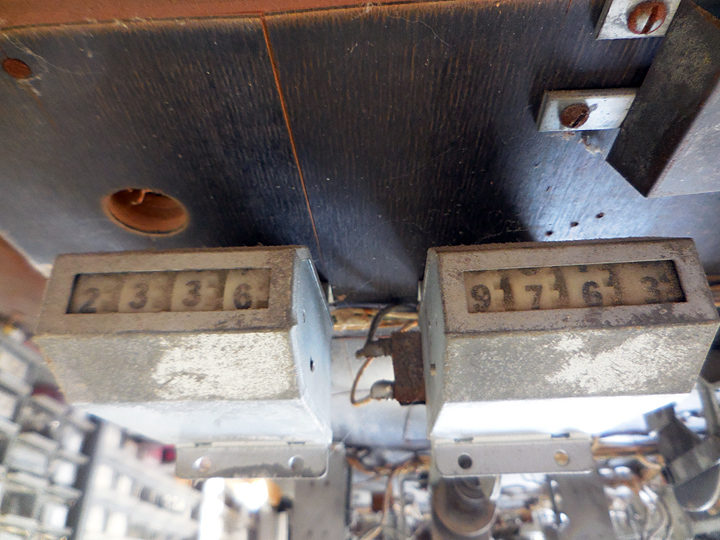
These are the game counters. They keep track of the number of games played and the number of rewards.
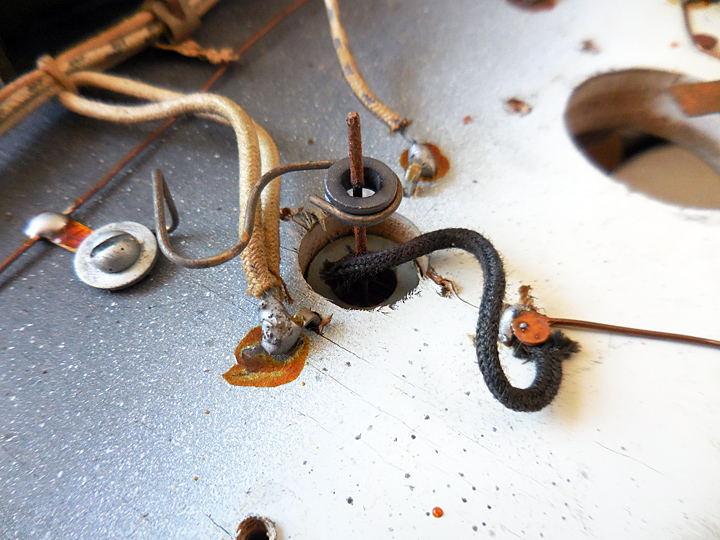
Here is a detail shot of the advance bumper contacts. The rusted nail sticking up is attached to the skirt on the bumper. As the ball rolls up the skirt to hit the bumper, the nail is displaced sideways. The nail has a wire covered by black fabric insulation soldered to it. The displaced nail contacts a carbon ring suspended by the curved wire. The circuit is complete when the current can flow from the black fabric wire, to the nail, to the carbon ring, along the suspension wire, to the screw and the wire soldered to it. The carbon ring was used because it is less likely to develop corrosion which stops the current from flowing.
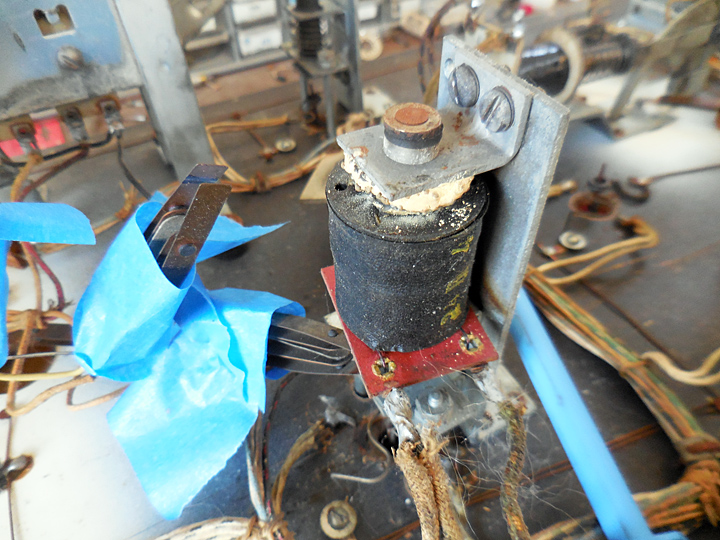
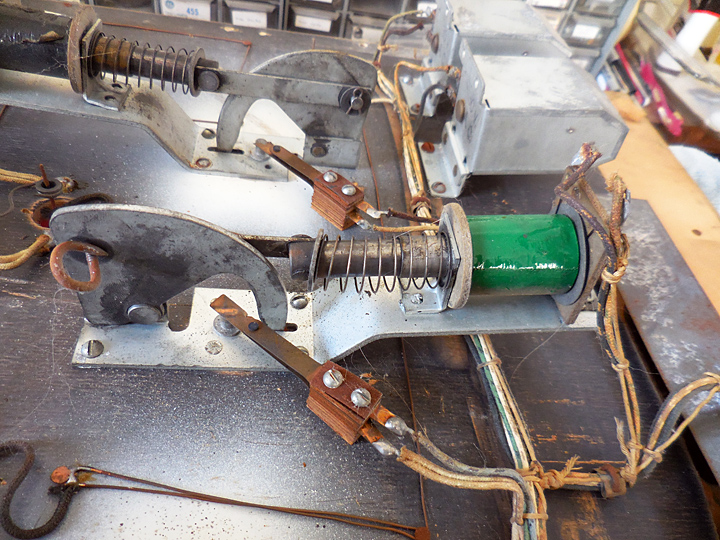
I enjoy looking at the old games and wondering how well they were maintained. You can tell by the work done if the operator was doing a good job or just trying to get the game working a little longer. Here is a good example. This is the solenoid driving one of the pop bumpers. The coil stop bracket has a coil stop on both sides. The coil is undersized and the gap between the coil and the bracket is filled with glue. I wonder how well and how long it worked?
Here is a gobble hole eject mechanism. The pivot broke off the bracket so the operator took a nail, shoved it through from the other side, and bent it to hold it in place. The result was damage to the link as the hole continued to enlarge because of the bashing of the nail.