Rebuilding a Motor, Fabrication

These motors are not meant to be repaired. They are rivited at all four corners and it is impossible to clean the assembly without some extra effort. First, I suspend the motor in an ultrasonic cleaner. The ultrasound creates pressure waves in the liquid cleaner, causing bubbles to form on the surfaces. As the bubbles pop, they cause the dirt to fall off. After a rinse, the assembly is blown dry with an air hose.
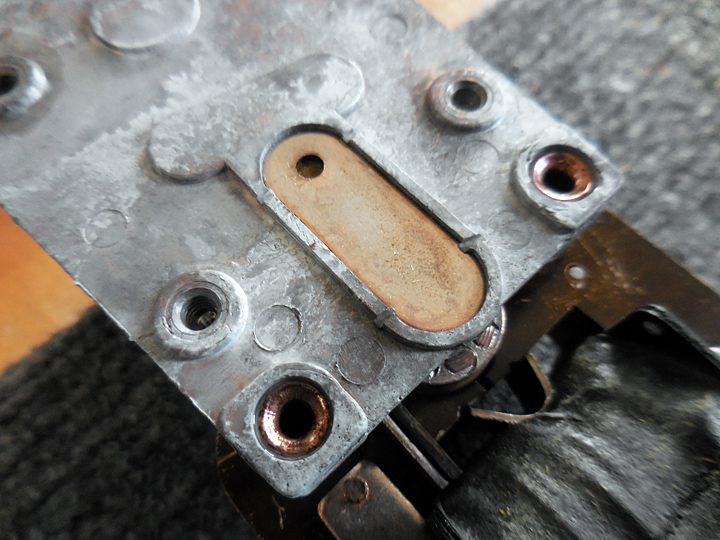
This is a small plate that protects the first two pinions in the gear train. There is a hole for adding oil. Note how it is crimped in place with four notches at the edge. These can be ground off with a high speed rotary tool and a worn to a small diameter, cut off disk.
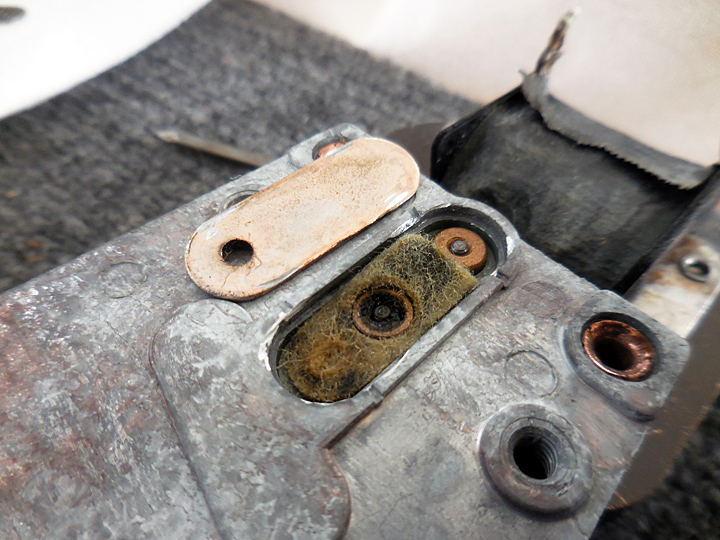
The plate has been removed, exposing the dirty felt and the two bearings for the pinions. The felt can be replaced or even cleaned using carb cleaner.
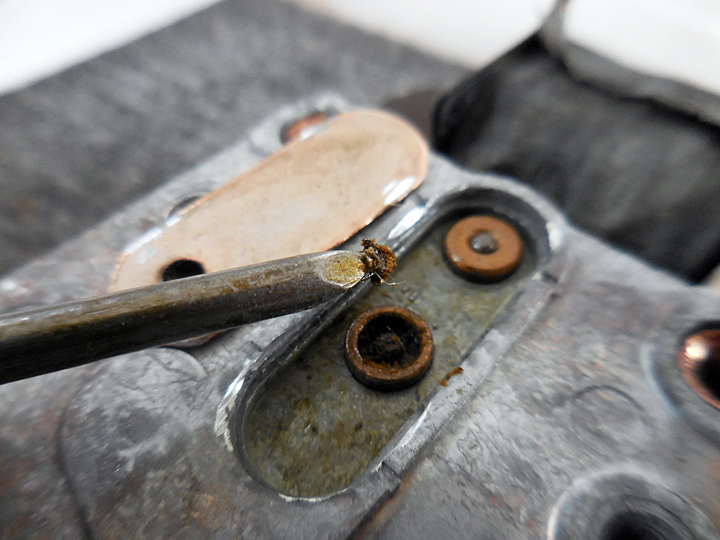
You might well ask why I go to all the trouble. The stuff on the end of the nail was removed from around the nearest bearing. It is hardened and is acidic. The bearing can be cleaned with a tooth brush and some isopropol alcohol. The pinion bearings are lubricated with some synthetic clock oil, the felt replaced and lubricated, and the access plate tapped back in place. It will stay as there is sufficient friction.
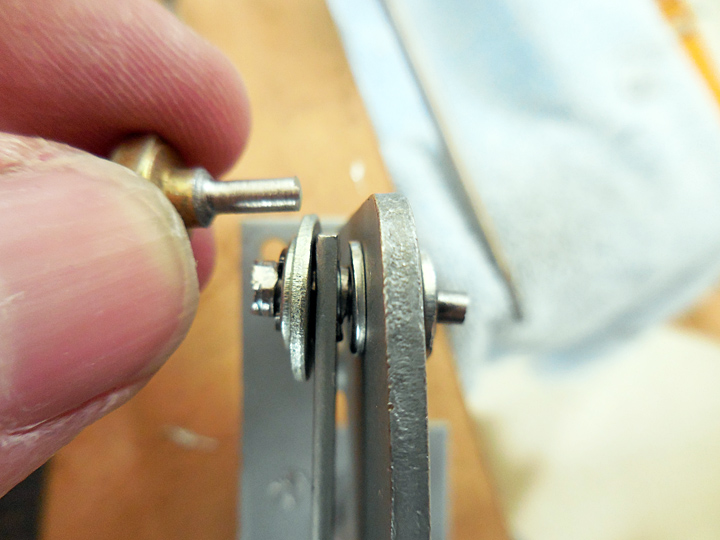
Here is the repair for the pivot on the gobble hole eject mechanism. The original pivot was crimped into the right side and extended to the left where it provided attachment for the solenoid link. The fix required a shoulder bolt similar to the one in my hand, with the large diameter used to hold the link and the small diameter going into the eject finger. I used a jeweler's lathe to turn a shoulder and a couple of grooves for E clips. The large diameter goes through the link which was soft metal and the hole elongated. The small portion went through the eject finger which was very hard metal and smaller diameter.
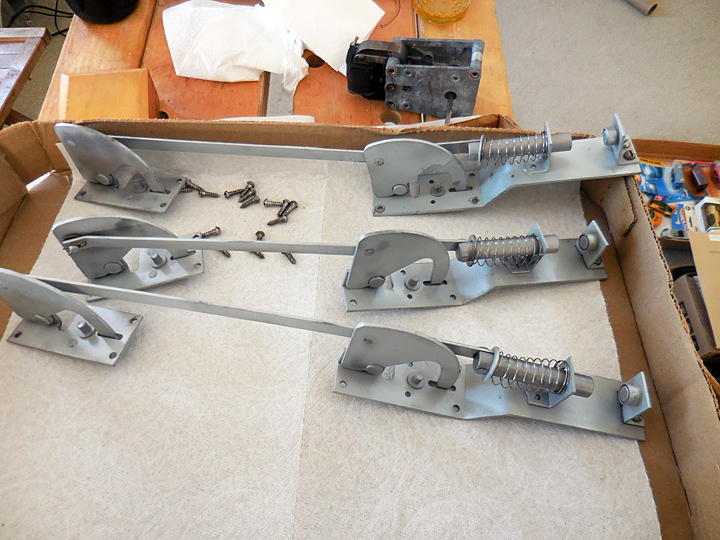
Three of the four gobble hole eject mechanisms are clean and ready for installation.
