Playfield Devices on the Bottom
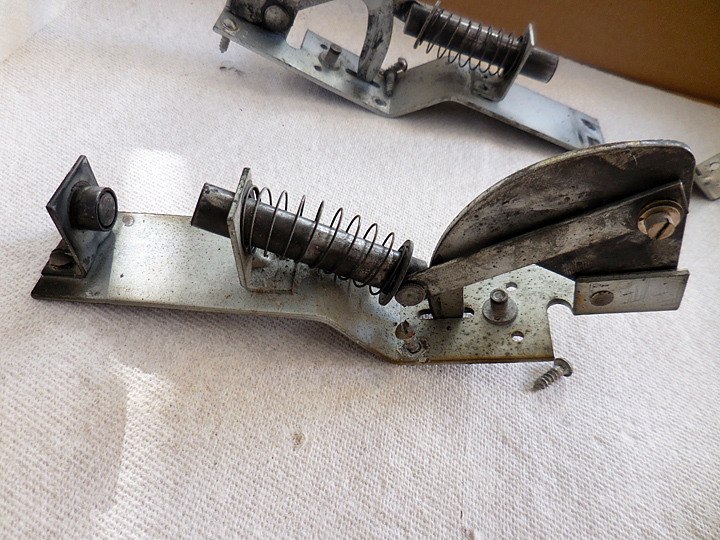
This is a dirty kick out mechanism. The solenoid, missing here, pulls in the plunger which pulls on the link to the screw in the upper right. This in turn pulls the finger through the hole, ejecting the ball from the hole. I got out the jeweler's lathe and fabricated another part. This time I did not use E clips at either end, rather I kept the head of the bolt, turned down the large shoulder for the link, a small shoulder for the actuating plunger and I plan on welding it in place on the backside of the plunger.
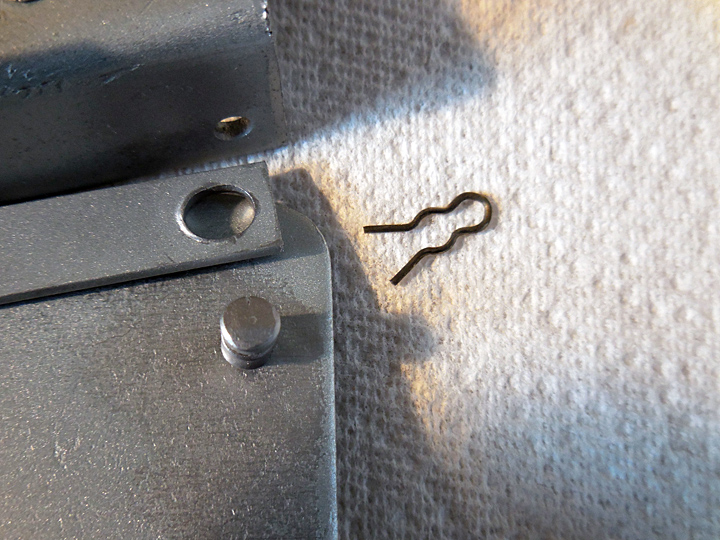
The link is supposed to be attached to the pin and held in place with a clip. Note the hole is now extended due to the constant yanking by the solenoid. This pin has failed in the past.
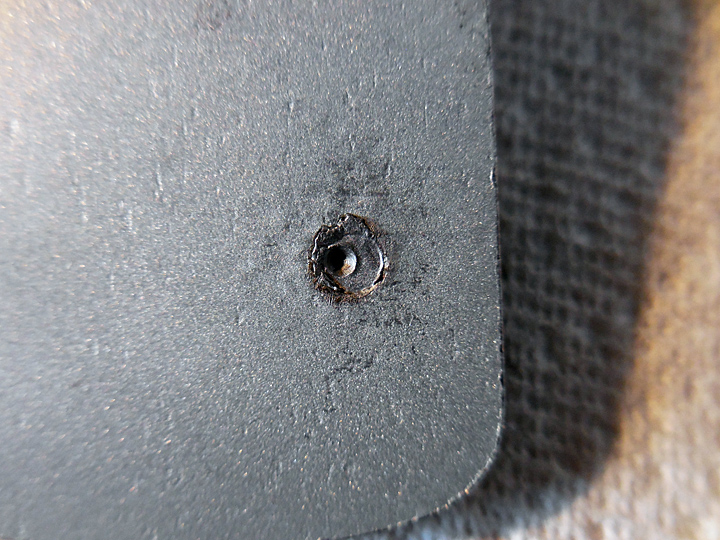
The reverse side of the link shows a repair. The pin is inserted in the hole and then a pin is punched to expand the pin in the hole. I wonder how long it will continue to work. This kind of repair is common in clocks where a worn hole in the plate is made smaller and then redrilled to accomodate a worn pinion.
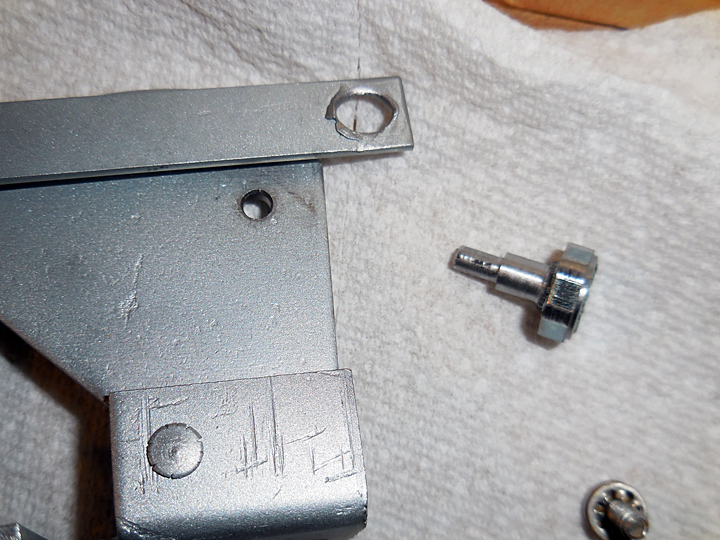
Here is the new should bolt.
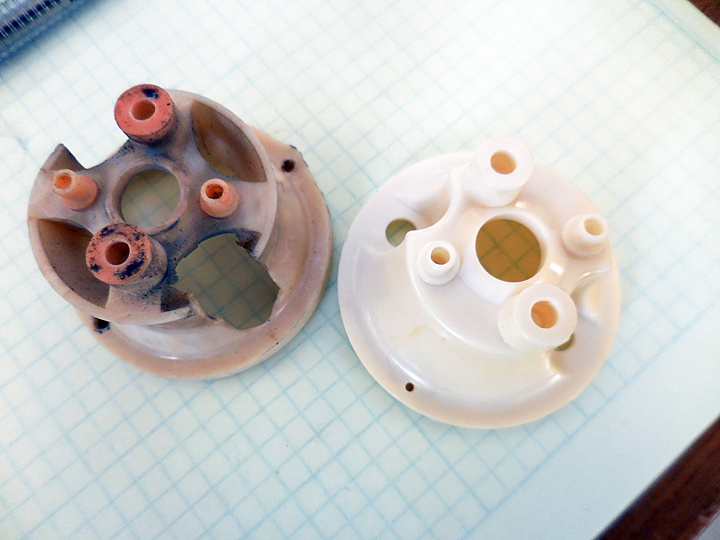
The old pop bumper body appears to be a advance bumper body with portions cut out to accomodate a pop bumper ring. The new pop bumper body has room for the ring and is more robust. I wonder if pop bumpers were so new the actually manufactured them like this. Or perhaps an operator had to replace broken bodies and fabricated these out of available parts.
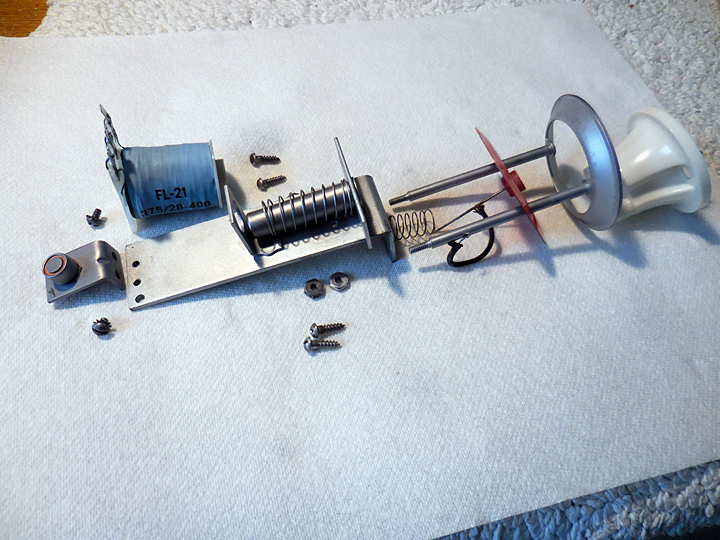
The pop bumper assembly with new parts.
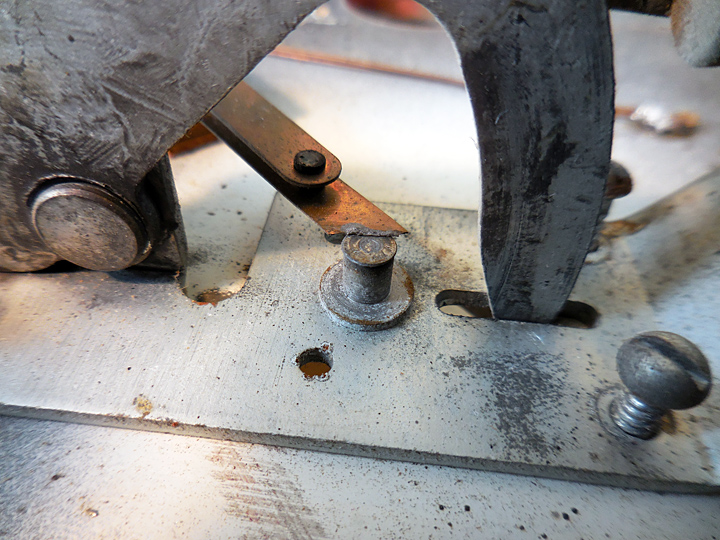
The ball lands in the cup and pushes the pin up, causing the leaf switch to close. Unfortunately a poorly adjusted plunger, show here going through the hole above the screw, clamps down on the leaf switch, causing it to wear and eventually break. I will extend the leaf using the same techique show on a previous date.
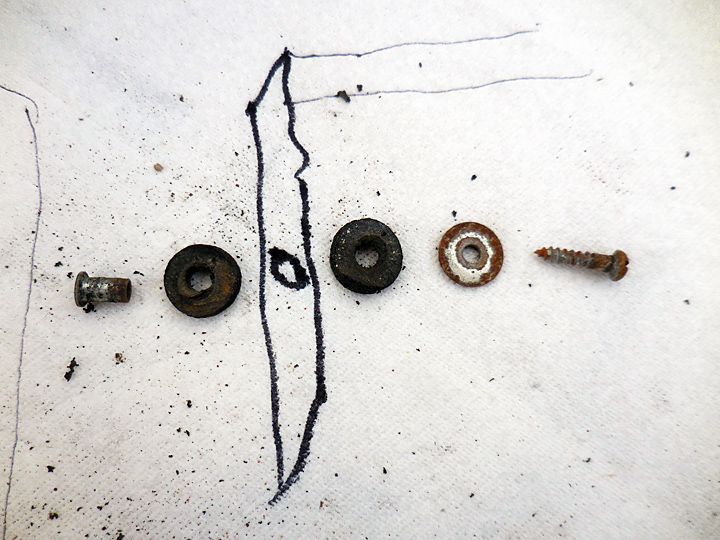
The reset bank is mounted using rubber isolation donuts. The is a typical picture I use to show the assembly sequence. Here the screw goes through the washer and rubber, then through the frame as shown by the drawing of a leg with a hole in it, through another rubber and the standoff before going into the wood of the playfield. The latter is shown by the drawing on the paper towel.
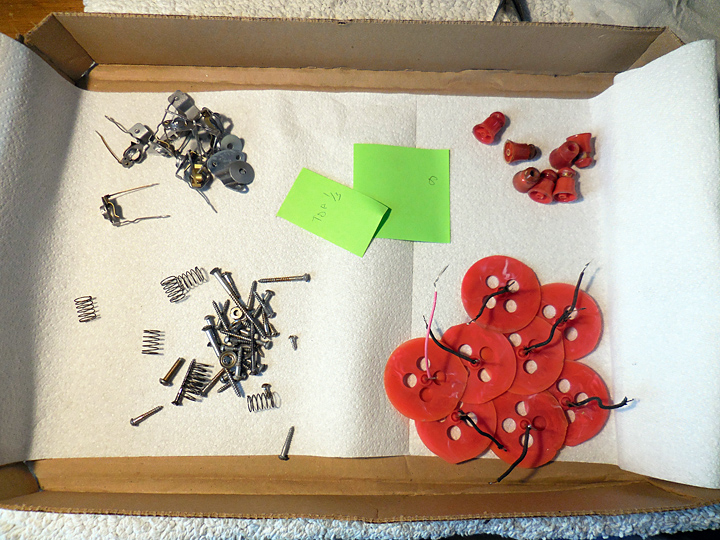
Clean advance parts. The green notes show these are for the top 1/3 of the playfield and are disassembly step 6. When assembly is the reverse of assembly, I just count down with each box.
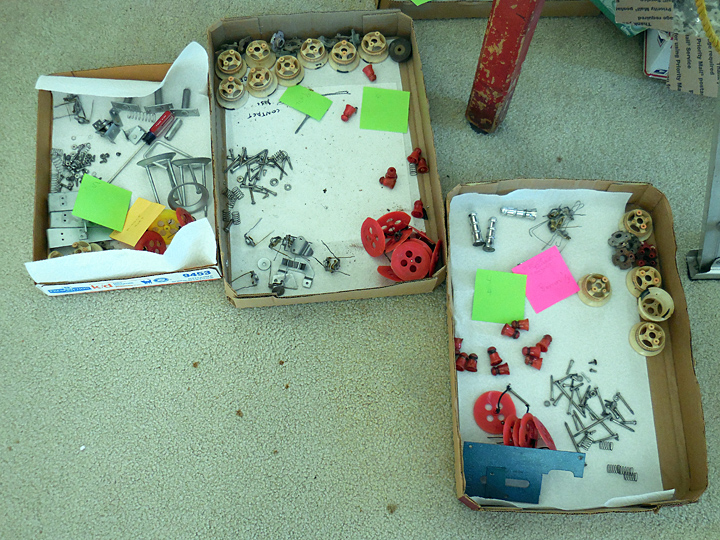
I now have boxes of clean parts, all waiting to be reinstalled on the playfield. I have new bodies and bases so they have not been cleaned.
