Paces Races Restoration Progress March 9
Assembly continues with the odds wheel. Pneumatics for the break at the finish line end are prepared for new covering.
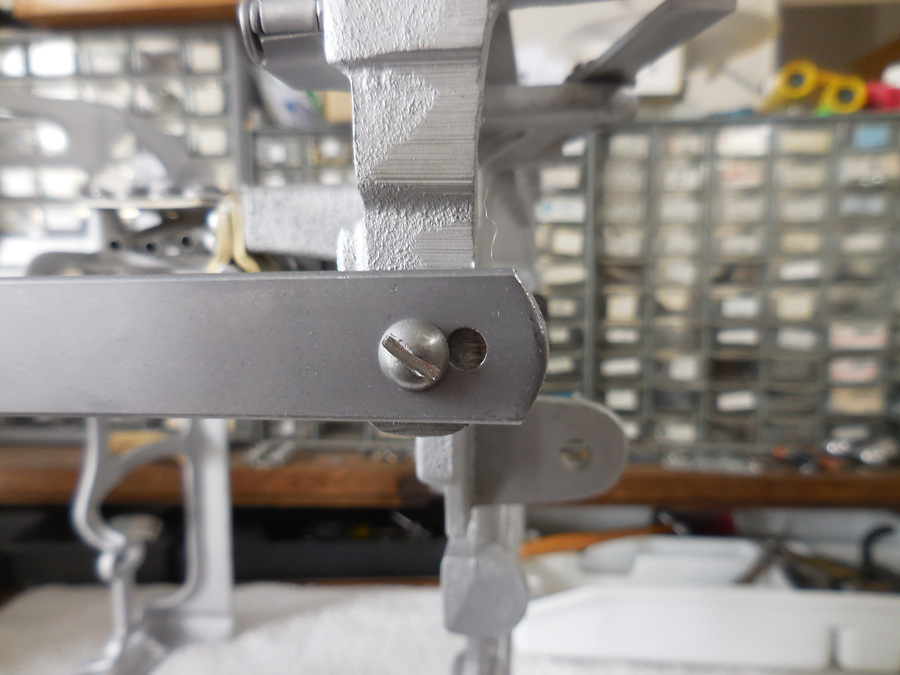
The frames on the Paces Races are attached primarily to the base board that sits in the bottom of t he cabinet. The frames are made from cast aluminum and are thin in various places. As the wood shrinks and the cabinet moves around, the frame members experience a fair amount of stress. It is not uncommon for them to crack. See my story of trying to repair a broken frame member in the Evans Races. So when I assemble various braces to the frame I am careful not to put them under pressure. Here I drilled a new hole for a cross brace because the original was off slightly.
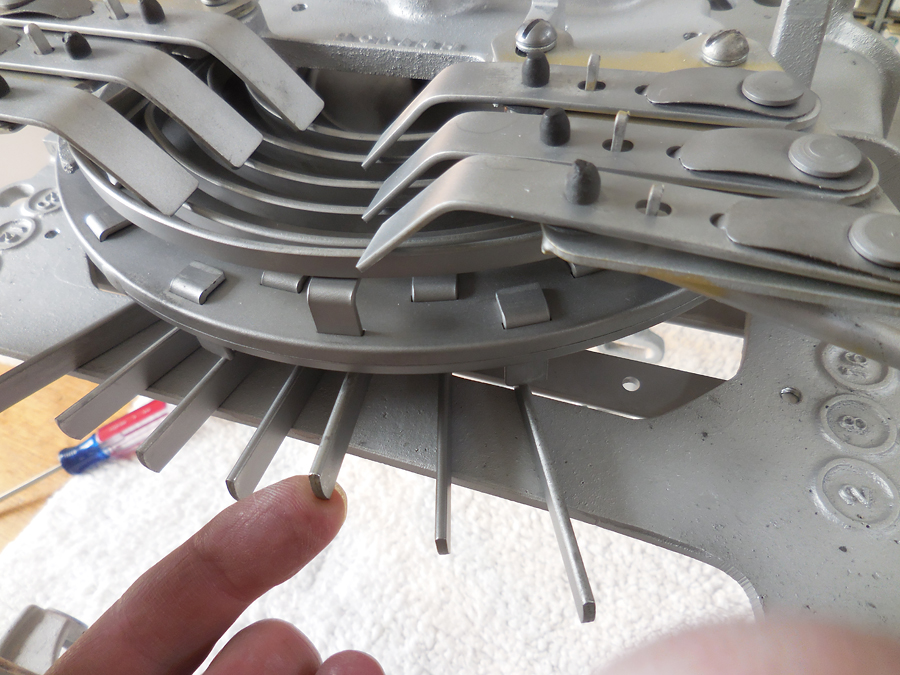
Here is the final assembly of the horse odds calculating levers in inside the odds wheel. Upon a horse winning, the bellows for that horse lefts the lever where my finger is. The odds wheel has rotated, the round plate with tabs, and the lever contacts a tab, lifting it. Tabs indicate what the payout odds are and the payout increases as you progress to the center of the wheel. As the tab is lifted, it contacts a ring lever which in turn lifts a finger. Note how each ring has a corresponding lever to lift, alternating left and right. The lever gets lifted and releases a vacuum under the black rubber grommet, sending a message to the coin slicer on how much to pay out.
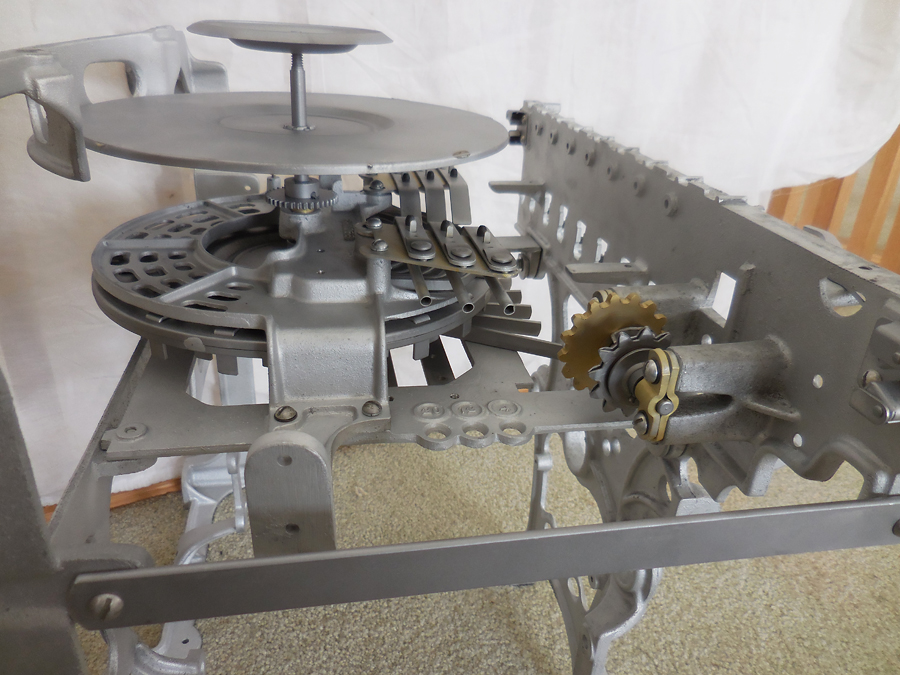
Here the right end of the game is almost complete.
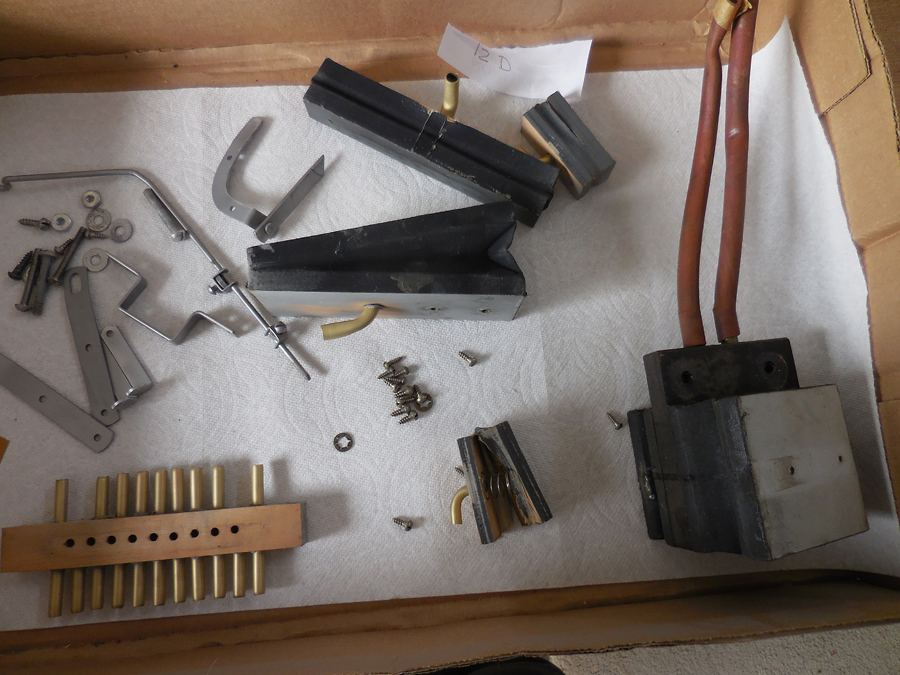
The metal parts are clean and the bellows now need to be restored. Note the wood block with holes and brass nipples in the lower left. This is the vacuum break that opens when the first horse reaches the finish line. The two small bellows, one showing the internal spring, and the long rectangular bellows at the top seal off these holes during the race and left when the first horse finishes. I have not started to clean the rubber fabric off the tiny bellows yet, it just fell apart when I removed it from the game.
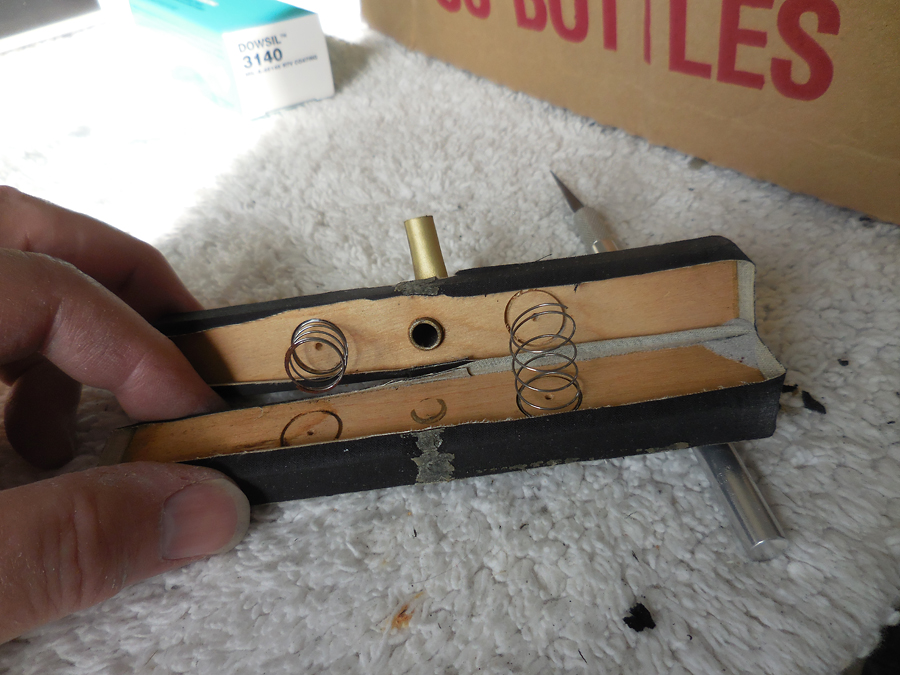
The break pneumatic pushes on the holes in the wood block, allowing the vacuum to continue through the block. The bellows retracts when a vacuum is applied, pulling the seal up off the holes, breaking the vacuum.
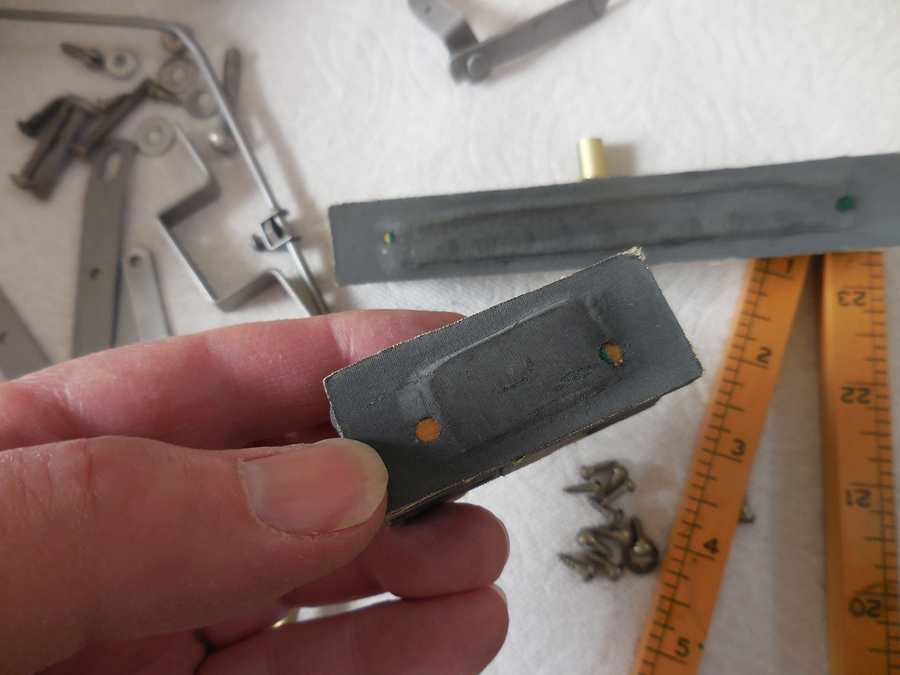
The bottom of the break bellows consists of a felt patch covered with rubberized fabric. The two holes allow the air to escape when the pad pushes on the holes in the wood block, allowing the block to seal.
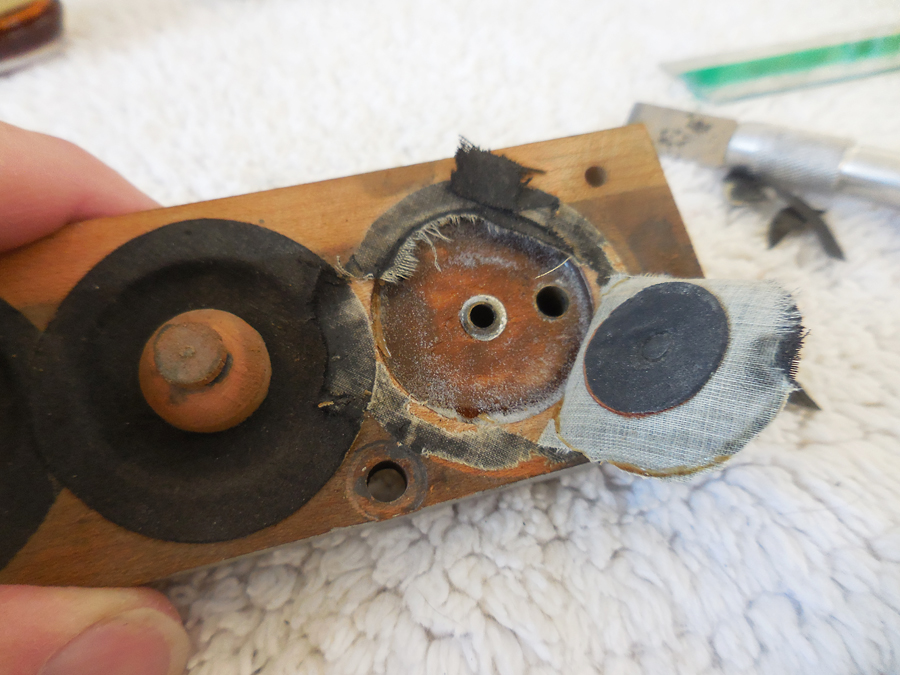
This is the finish line pneumatic. There is a vacuum under the black fabric as the game sucks through the hold in the pouch on the right. The small black disc seals the hole in the center. When a horse reaches the finish line, a lever pulls on the wood button, lifting the internal seal and allowing the vacuum to be pulled out of the center hole.
The fabric needs to be removed and the wood sanded smooth, without removing any wood. New fabric with a leather patch is installed and the wood button reapplied.
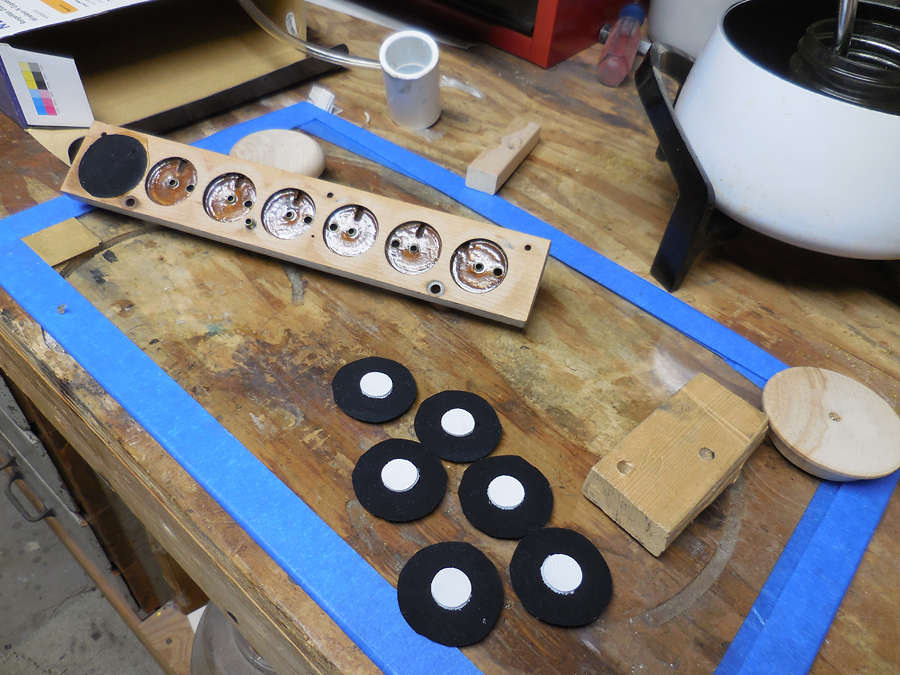
The wood plate is clean and the pouches are ready to be glued. The fondue pot is used to hold the hide glue at the correct temperature, about 140F. Read elsewhere about the use of hide glue, a most amazing adhesive.
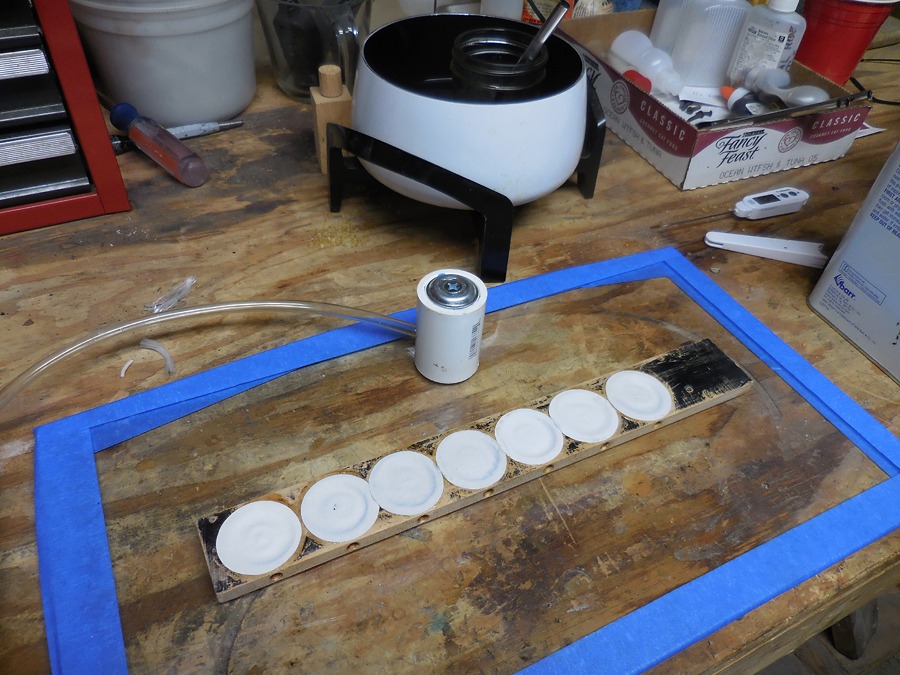
This is the wood plank used on the coin head. I am using kangaroo skin that has been specially tanned. It is thin and very flexible. The tool above the pouch board is used to install the pouches. I can suck the air out, making the pouch conform to the dished washer on the top. I apply glue and then push the tool down into the well, leaving the leather dished, as show by the leather already installed. I work on a glass plate, with masking tape on the edges when I need a very flat surface. I can sand various board and apply bellows material when needed, confident the work surface is perfectly flat.

Once the pouches and wood buttons are installed, I can glue the two halves of the bellows together. Here I am applying pillow ticking as a flexible but strong hinge material. The small block prevents the bellows from collapsing too far, critical when sensing a coin in the coin head.
