
Bear Assembly
The following pictures and text document the final assembly of the Shoot the Bear. Most of the disassembly, cleaning, repairing broken parts, and assembly of major modules has already been done. All the parts are clean and are in tested and working condition. There are three sections, including this one. Later I will add how to assemble the various modules, including the amplifier, score and shot count steppers, bear, dog, and track.
Gun Stand Assembly
The cabinet, gun stand, and gun can all be assembled in any order.
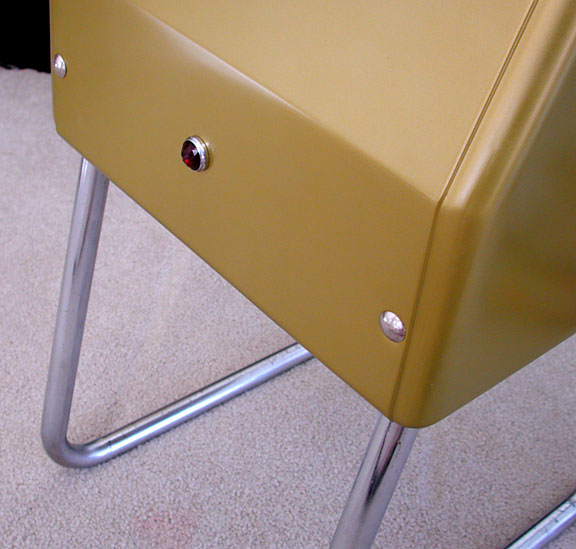
The jewel lamp in the front of the cabinet, with its resistor and wiring are installed first. The legs are added.
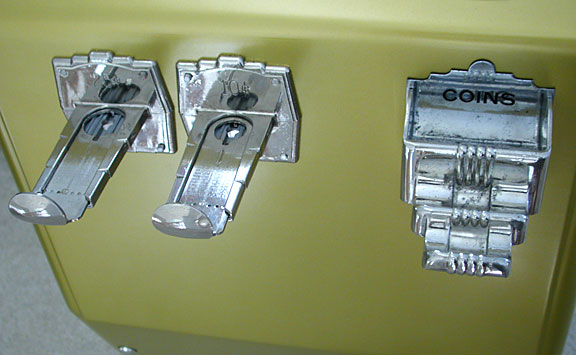
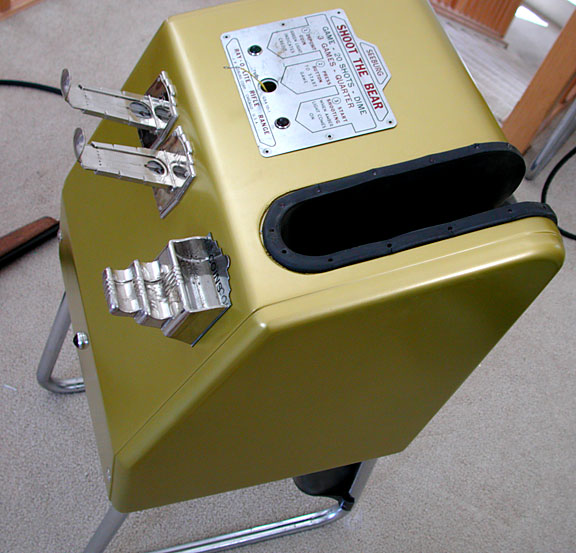
The coin slides are installed and the coin tray. Make sure the coin tray screws and the leg bolts on that side are tight as they will not be accessible once the gun holder is installed. Attach coin slides only with the two screws closes to the other slide. The outside screws will mount the coin counter and credit switch assembly.
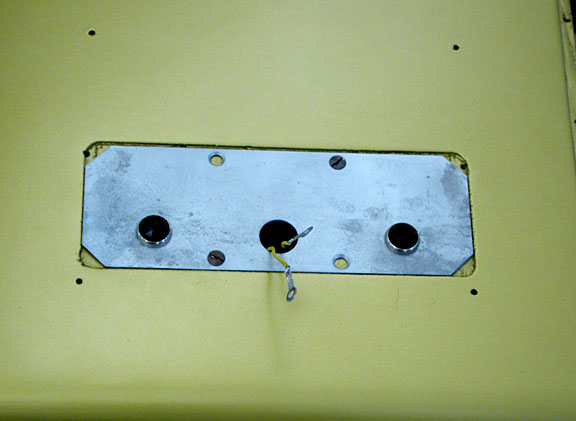
The light holder is mounted in a recess under the instruction plaque. The start button is installed last, but the wiring should be available through the hole.
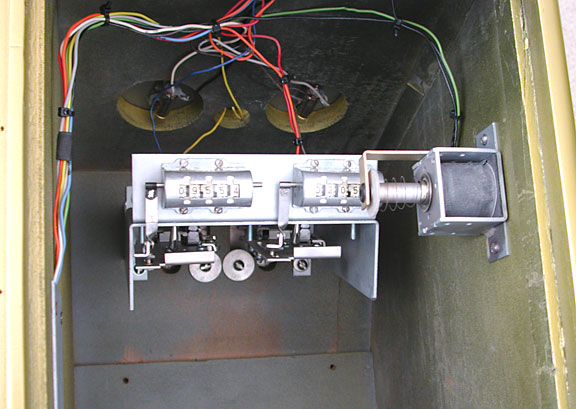
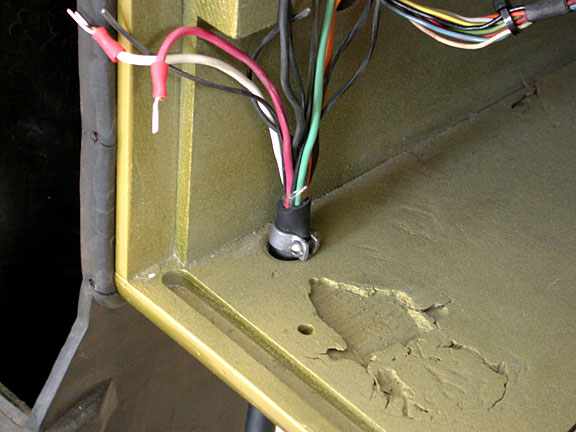
Add the wiring for the upper portion of the gun stand. The bracket that holds the credit switch and the game counters is mounted to the outside screws of the coin slides. Mount the gun sounder on the right. There is a terminal block that mounts just out of sight above the coin counters. Lead the wiring down the left side of the cabinet in a groove cut in the wood. The groove is then covered with a metal plate to protect the wires as the coin box is slide into the cabinet.
The coin box and mounting bracket are not installed in this game. They should be installed at the very beginning, in the bare cabinet. You can see the two mounting screw holes in the bottom of this picture.
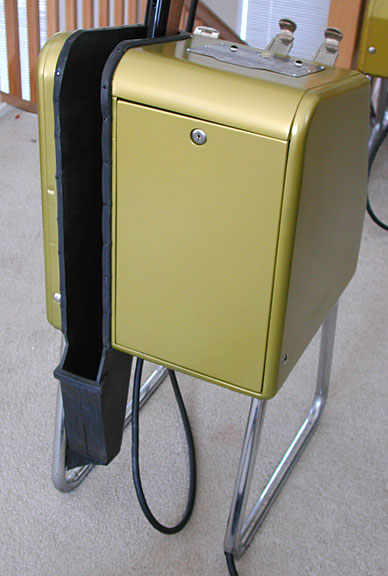
When you are ready to install the gun, lead the wiring up through the hole in the bottom, next to the gun holder. Put the clamp on to prevent the player from pulling the cable out of the tun stand. (This gun stand had some voids in the plywood, probably caused by knots in the wood. These do not affect the strength of the cabinet and will not be visible once the credit unit is installed.)
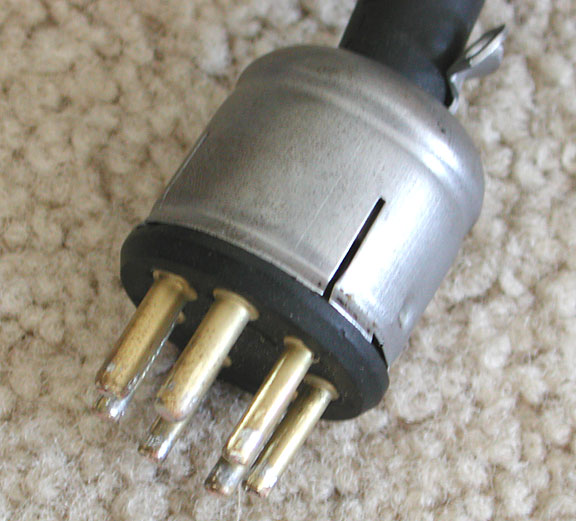
Install the seven pin plug on the end of a 50 foot cable. Do not be tempted to shorten the cable as this will affect the lamp brightness and the shot duration.
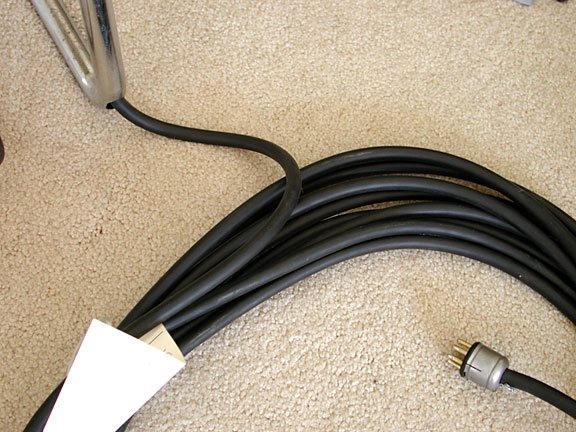
Feed the cable up through the hole in the back of the left leg of the gun stand. Add crimp lugs to the wires in the cable and note which wires go to which pin on the plug.
Install the gun holder or rubber envelope. The flange on the bottom is underneath the gun stand floor. There is a bracket to mount the envelope to the leg and the edge of the holder is attached with finishing nails or small frame nails. I put a small rag in the bottom of the envelope to protect the end of the gun barrel. Foam will serve but generally gets chewed up and shreds quickly.
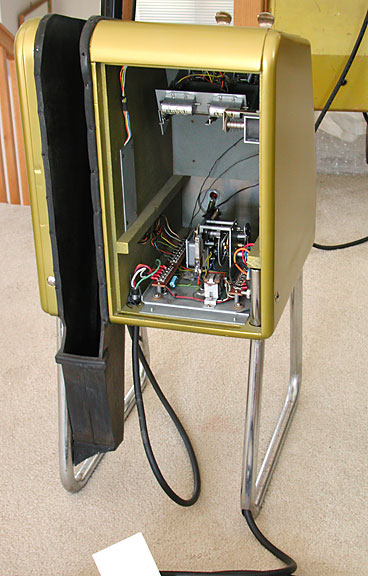
The credit unit is installed in the cabinet. Note the wiring coming down the left side of the cabinet, protected by the metal plate. It is possible to use the credit unit from a Seeburg jukebox or a Coon Hunt, but care must be take with the terminal strips as they are often switched from side-to-side.
Install the lock and the door.
I try to install the instruction plaque last in order to keep it from getting scratched or dented. It is held in place with small wood screws.
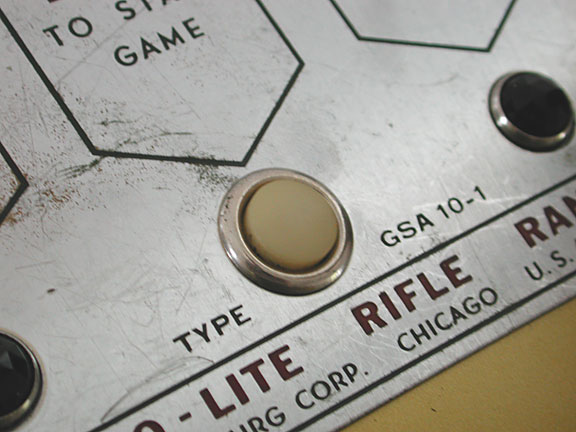
The start button wires are connected and the button is pushed into place.
The gun stand and gun are now assembled.
Cabinet Assembly
The cabinet is assembled with scenery, electrical connections, bear and dog track, and amplifier.
Gun Assembly
The gun assembly shows the trigger plate, lamp holder, barrel, gun cover, and wiring are added.
Door Assembly
The score and rating bar are added to the door, as are the glass and scenery. The hinges and lock strike also need to be attached.