
Bear Assembly
The following pictures and text document the final assembly of the Shoot the Bear. Most of the disassembly, cleaning, repairing broken parts, and assembly of major modules has already been done. All the parts are clean and are in tested and working condition. There are three sections, including this one. Later I will add how to assemble the various modules, including the amplifier, score and shot count steppers, bear, dog, and track.
Restoration Help
I had help with the cosmetic restoration of the cabinet and gun stand. While I prefer to keep the original finish and patina of the games intact, this game was badly scratched, bashed, and in generally poor condition. See contact page for further information.
Cabinet Assembly
The cabinet, gun stand, and gun can all be assembled in any order.
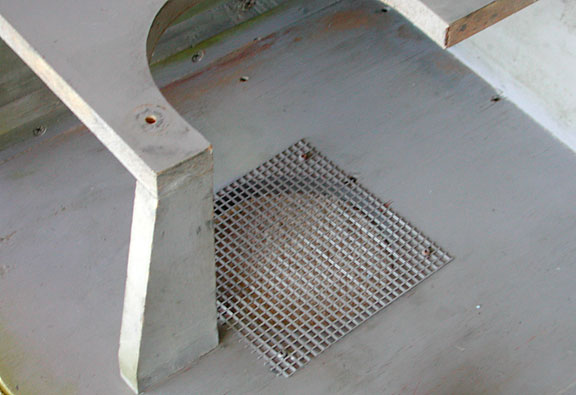
There are two grilles on the bottom, one for the speaker of the growler and the one pictured above, used to cool the motor. There is also a grille at the top of the cabinet.
The hand hold covers and the two locks are installed. Normally the locks rotate from the 12:00 o'clock position (unlocked) to the 9:00 o'clock position (locked). The key can only be removed when the game is locked. In order to keep the keys from being broken off in the lock, when the cabinet is unlocked, I rotated the tumbler to the 3:00 o'clock position.
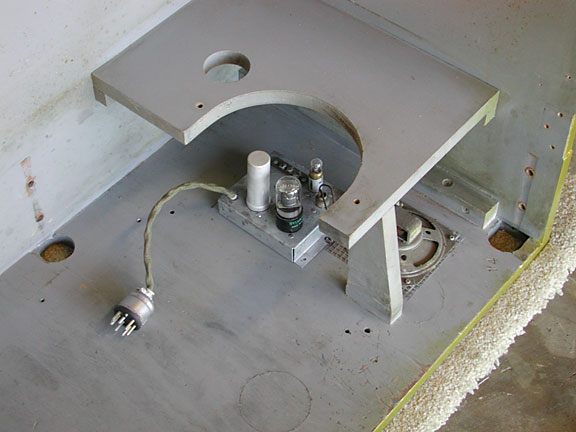
The growler and its speaker are installed. The screws for the speaker hold the right grille in position.
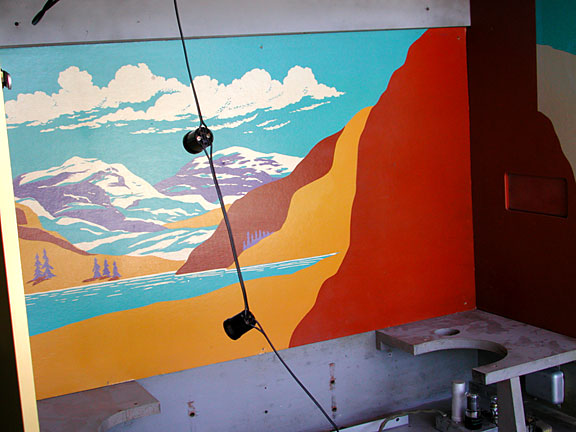
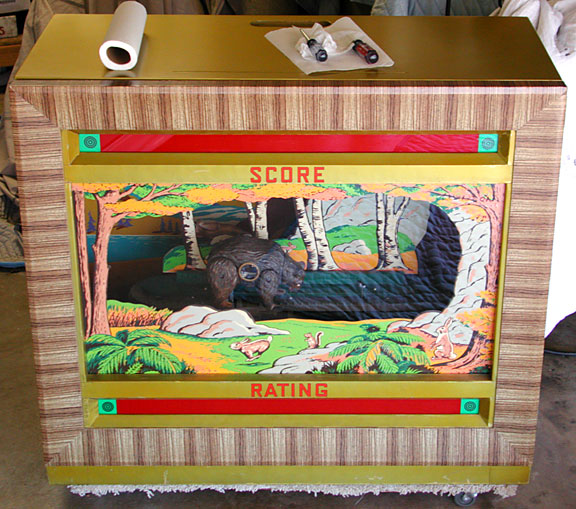
The scenery is installed. Install both side pieces first and then the back piece, being careful not to scrape the side pieces.

The four lights can be installed, starting in the back left, moving to the front left and across the front. The plug and wire is then routed down the right side of the cabinet, along the back wall, and to the accessory switched plug on the left bottom of the cabinet. The cord is held in place by the half circle with screw clips.
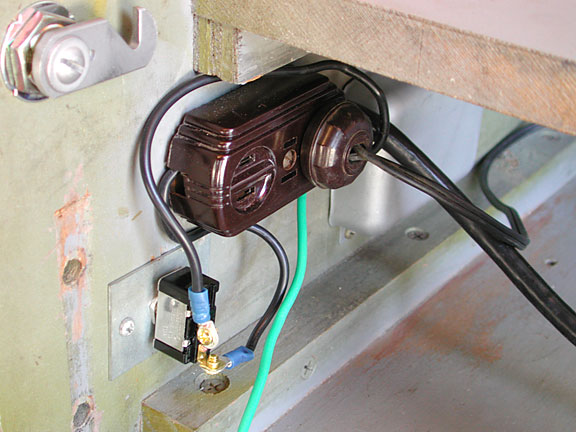
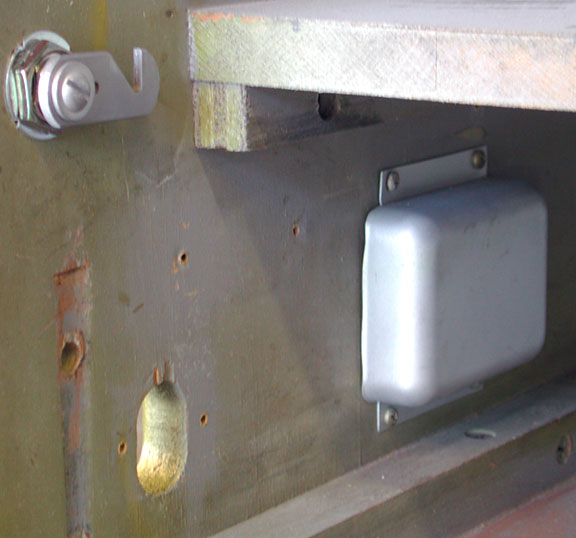
The switch and the outlet it controls are installed on the side of the bottom left cabinet. I used a three prong plug and routed the green wire for the third prong outside of the outlet. It will be connected to the amplifier chassis. Safety Note: This does not guarentee that the game will not present a shock hazzard.
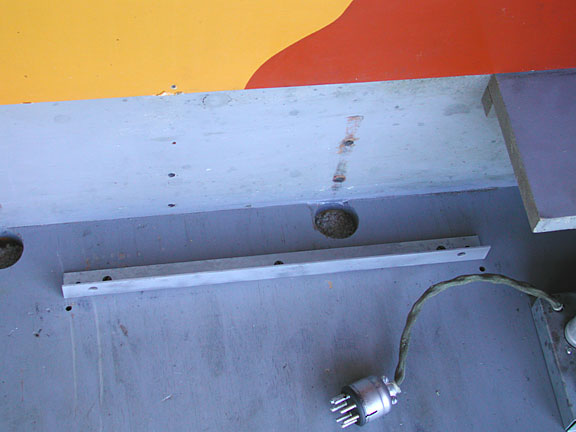
The rear amplifier mount is screwed to the bottom of the cabinet.
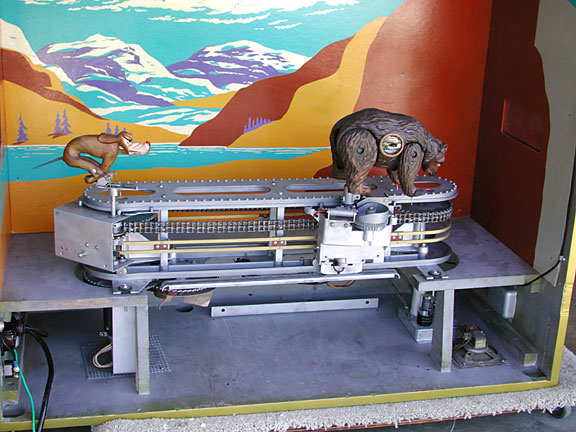
The track with the bear and dog are installed. The track uses isolation gromets with an internal insert. The bolts go through the washer, the insert and gromet, and down into T nuts on the bottom of the mounting board.
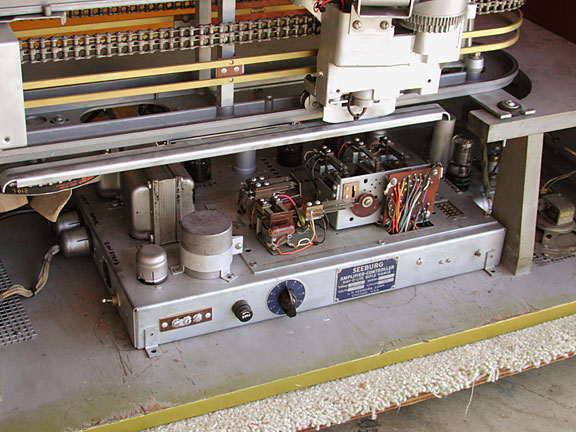
The amplifier slides into the back amplifier bracket and is located by two pins on the back of the amplifier. The front is bolted down with two bolts that go into T nuts under the cabinet. This amplifier is missing the relay and score wheel cover as are most that I have seen.
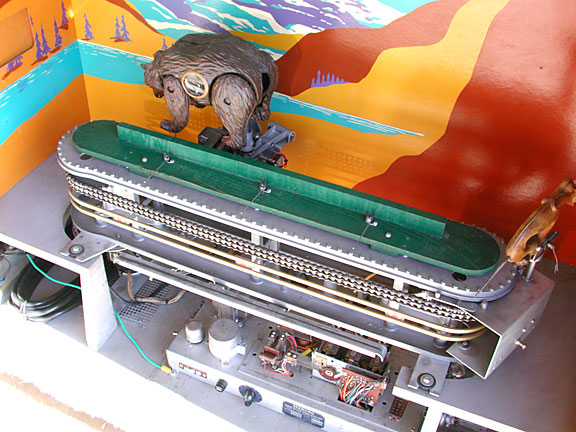
The green ground that covers the track is installed, along with the trip wires that cause the dog and bear to be running. These are often broken off and metal straps substituted. These are too stiff and cause undo wear on the animals. Note also the green ground wire attached to the left mounting bolt of the amplifier.
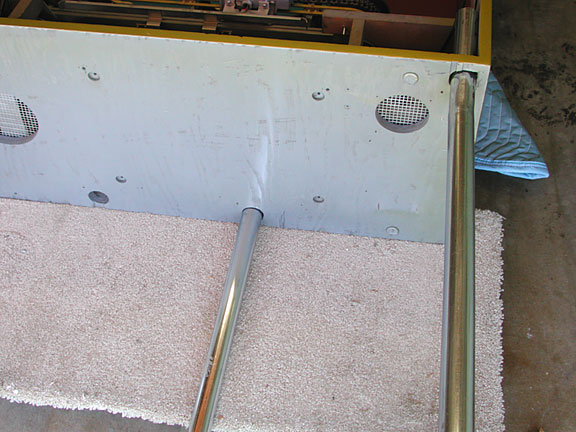
Once the game is in possition, the legs can be installed. They botl with eight carriage bolts through the cabinet wall and into four places, two at each end of each leg. The game needs to stand against a wall as there is little support preventing the game from falling backward.
Gun Stand Assembly
The gun stand assembly covers the internal wiring, coin slides, switches, legs, instruction plaque, and credit unit.
Gun Assembly
The gun assembly shows the trigger plate, lamp holder, barrel, gun cover, and wiring are added.
Door Assembly
The score and rating bar are added to the door, as are the glass and scenery. The hinges and lock strike also need to be attached.